Create React App
2021-08-03#
List#
- React?
- Create React App
React#
사용자 인터페이스를 만들기 위한 JavaScript 라이브러리
선언형#
React는 상호작용이 많은 UI를 만들 때 생기는 어려움을 줄여준다.
애플리케이션의 각 상태에 대한 간단한 뷰만 설계하고 그 후 React는 데이터가 변경됨에 따라 적절한 컴포넌트만 효율적으로 갱신하고 렌더링한다.
선언형 뷰는 코드를 예측 가능하고 디버그하기 쉽게 만들어주는 장점이 있다.
컴포넌트 기반#
스스로 상태를 관리하는 캡슐화된 컴포넌트를 제작할 수 있다.
그리고 이를 조합해 복잡한 UI를 구현할 수 있다.
컴포넌트 로직은 템플릿이 아닌 JavaScript로 작성하며, 다양한 형식의 데이터를 앱 안에서 손쉽게 전달할 수 있고, DOM과는 별개로 상태를 관리할 수 있다.
한 번 배워서 어디서나 사용하기#
기술 스택의 나머지 부분에는 관여하지 않기 때문에, 기존 코드를 다시 작성하지 않고도 React의 새로운 기능을 이용해 개발할 수 있다.
React는 Node 서버에서 렌더링을 할 수도 있고, React Native를 이용하면 모바일 앱도 만들 수 있다.
React 기능#
웹 및 모바일 앱의 뷰 레이어를 처리하는 데 사용되는 라이브러리며 React를 사용하면 재사용 가능한 UI 구성 요소를 손쉽게 만들 수 있다.
속성#
- React.js는 선언적
- React.js는 간단하며 강력함
- React.js는 컴포넌트 베이스
- React.js는 서버사이드를 지원
- React.js는 모바일을 지원
- React.js는 확장성이 뛰어남
명령형, 선언형?#
명령형 프로그래밍은 프로그래밍을 할 때 어떻게(How)에 집중하는 것
선언형 프로그래밍은 무엇(What)에 집중하여 프로그래밍을 하는 것
명령형
선언형
명령형 HTML 리스트 추가
선언형 JSX 리스트 추가
JSX#
React에서는 템플릿에 일반 JavaScript를 사용하는 대신 JSX를 사용한다.
JSX는 자바스크립트와 HTML을 동시에 사용하며, HTML에 자바스크립트의 변수들을 바로 사용할 수 있는 일종의 템플릿 언어(Template language)
JSX는 HTML 인용을 허용하고 이러한 HTML 태그 구문을 사용하여 하위 구성 요소를 렌더링하는 간단한 JavaScript 구문이다.
HTML 구문은 React Framework의 JavaScript 호출로 처리된다. (순수한 JS로만으로도 처리가능)
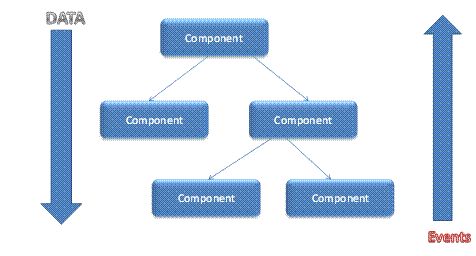
단방향 데이터 흐름#
React에서는 변경할 수 없는 값 세트가 HTML 태그의 속성으로 구성 요소 렌더러에 전달된다.
구성 요소는 속성을 직접 수정할 수는 없지만 수정가능한 콜백 함수 및 기능을 전달할 수 있다.
즉, "속성이 아래로 흘러가고. 이벤트가 위로 흐른다"
가상 문서 객체 모델#
React는 변경 사항을 계산한 다음 브라우저를 업데이트하는 메모리 내 데이터 구조 캐시를 만든다.
이를 통해 프로그래머는 각 변경 사항에 대해 전체 페이지가 렌더링되는 것처럼 코딩할 수 있다.
여기서 반응 라이브러리는 실제로 변경되는 구성 요소만 렌더링하는 기능을 지원한다.
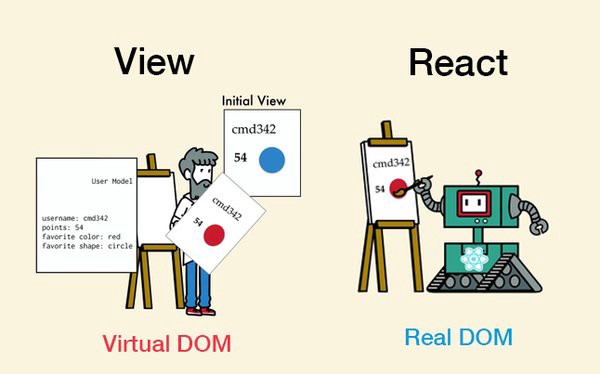
요약?#
Virutal Dom을 사용하여 DOM이 자주 갱신되는 SPA의 리플로우와 리페인트를 최소화함으로써 성능을 최적화해주는 라이브러리
Create React App#
public/index.html#
참고#
2021-08-10#
List#
- Add App Favicons
- Set up Custom Fonts
- React Bootstrap
Favicons 설정#
주소창 앞에 나타나는 아이콘
파비콘이 모든 브라우저와 모바일 플랫폼에서 작동하기 위해서 약간의 작업이 해보자.

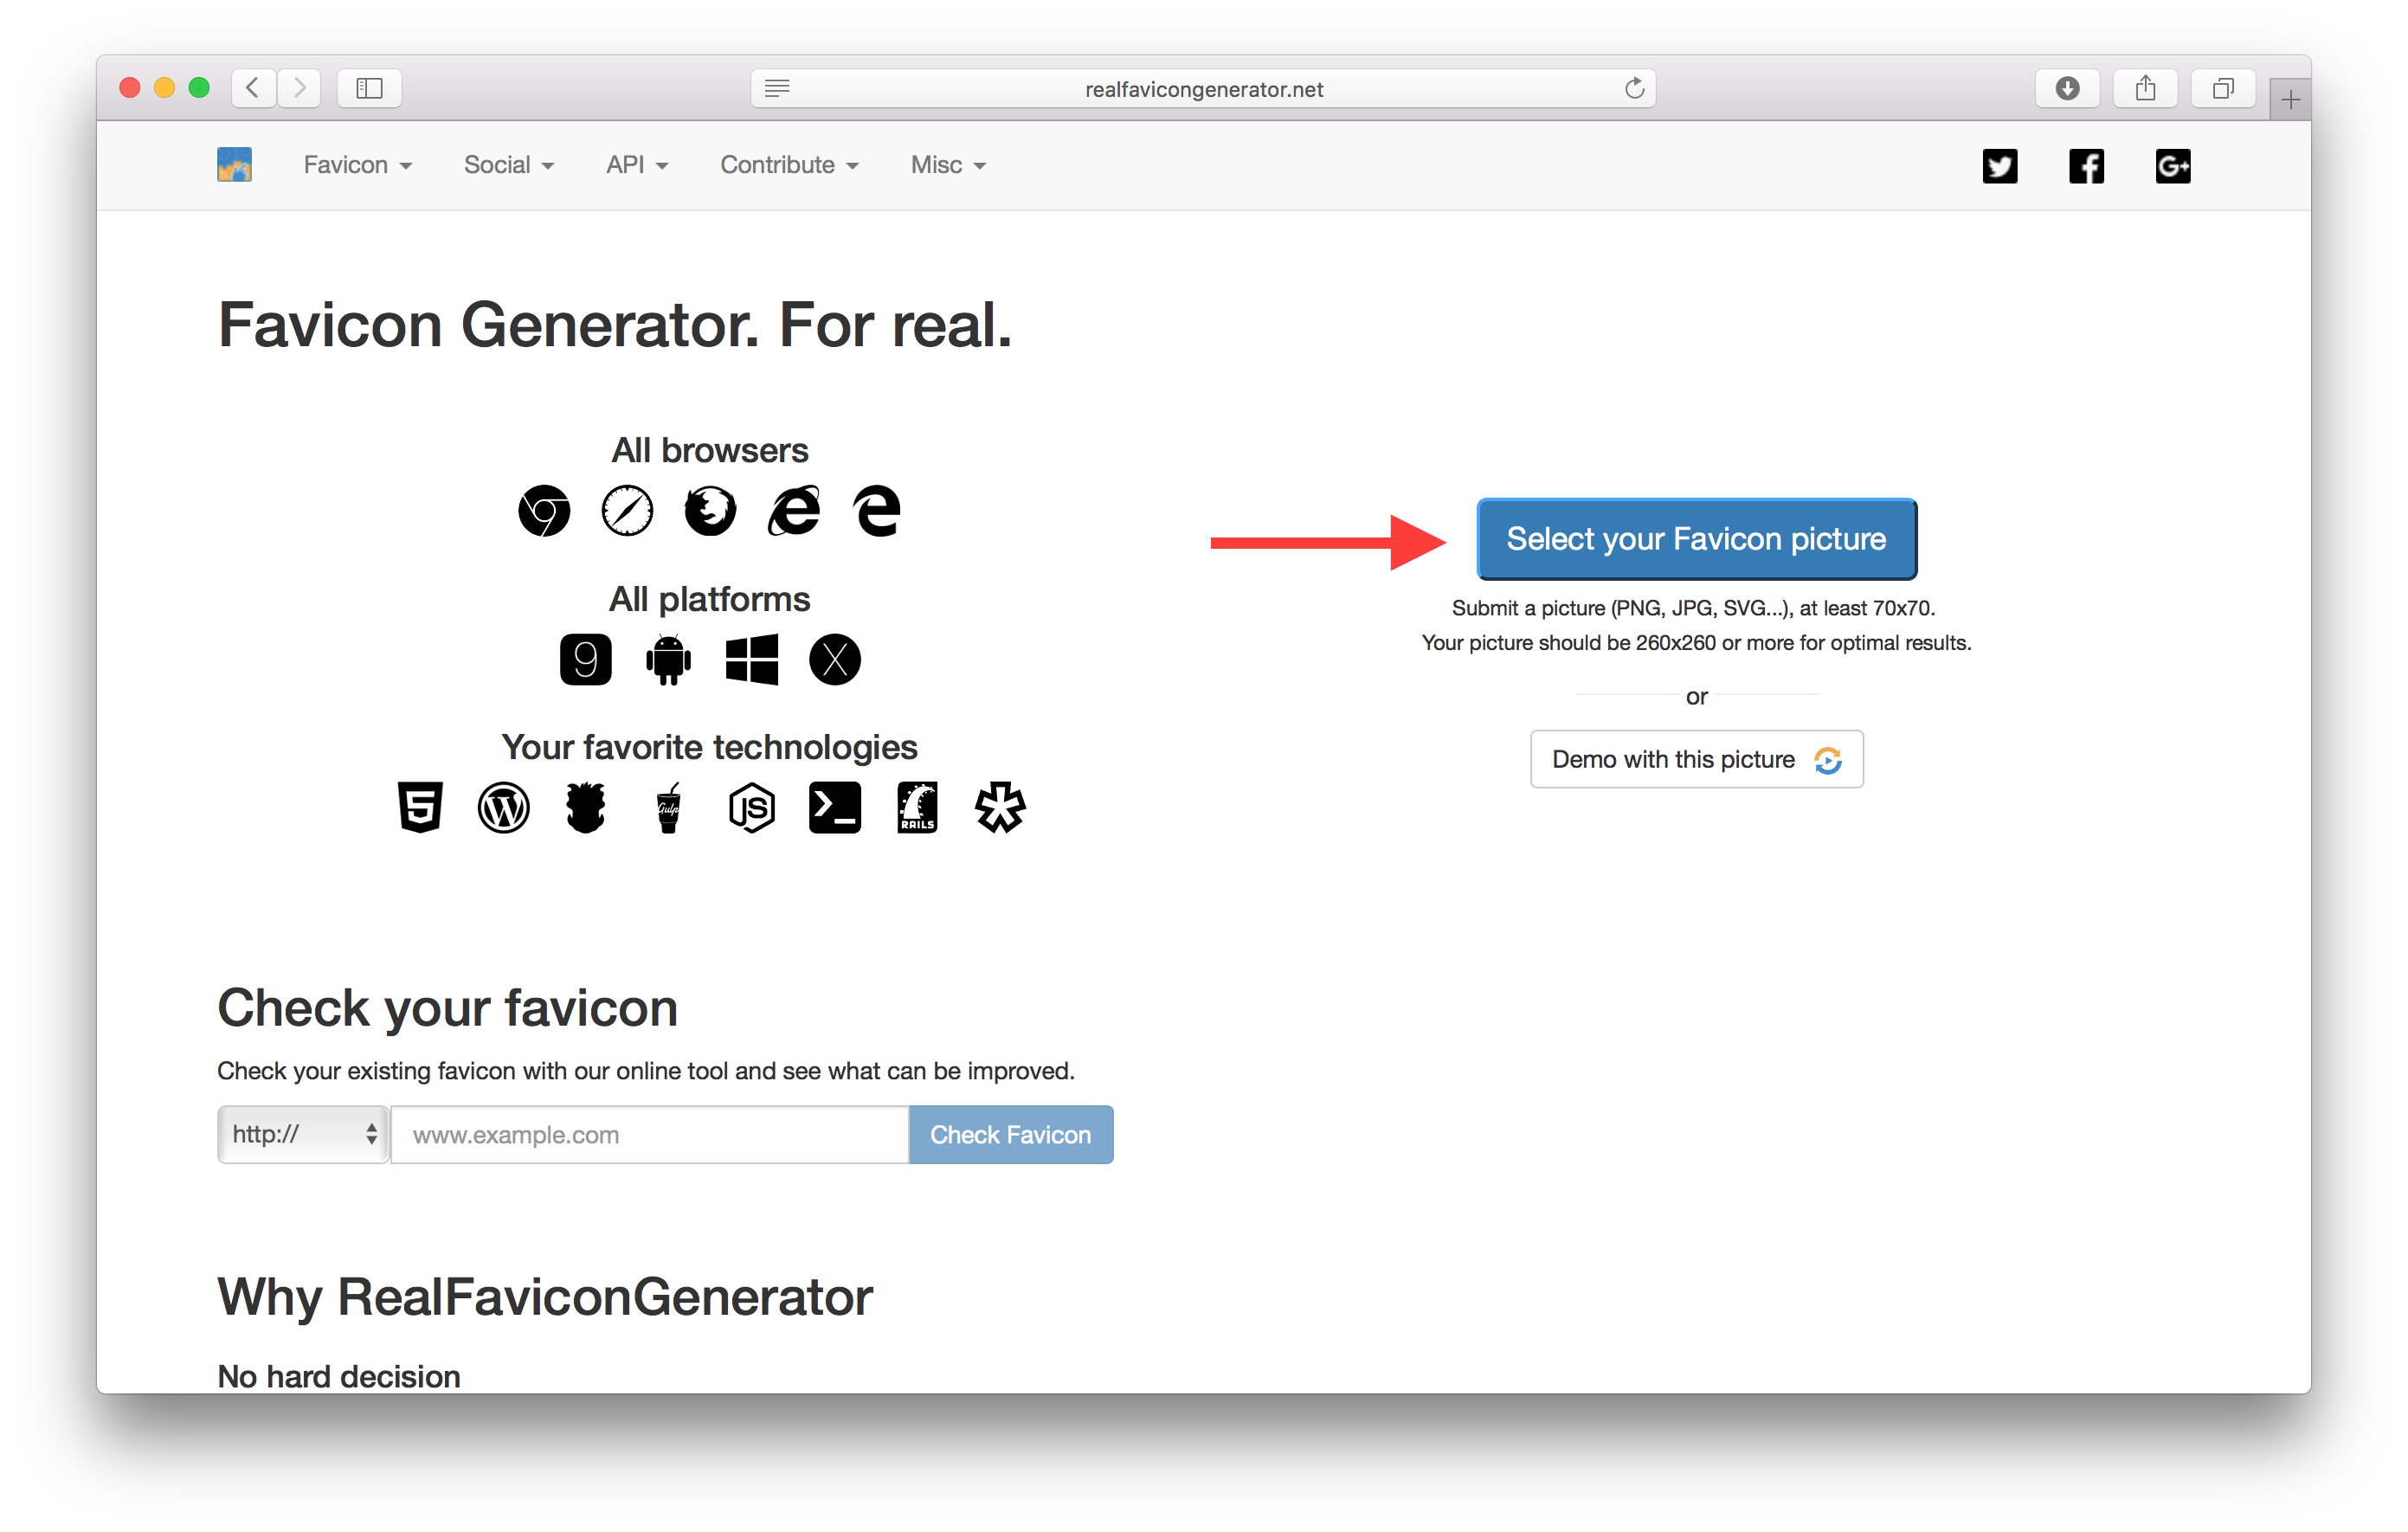
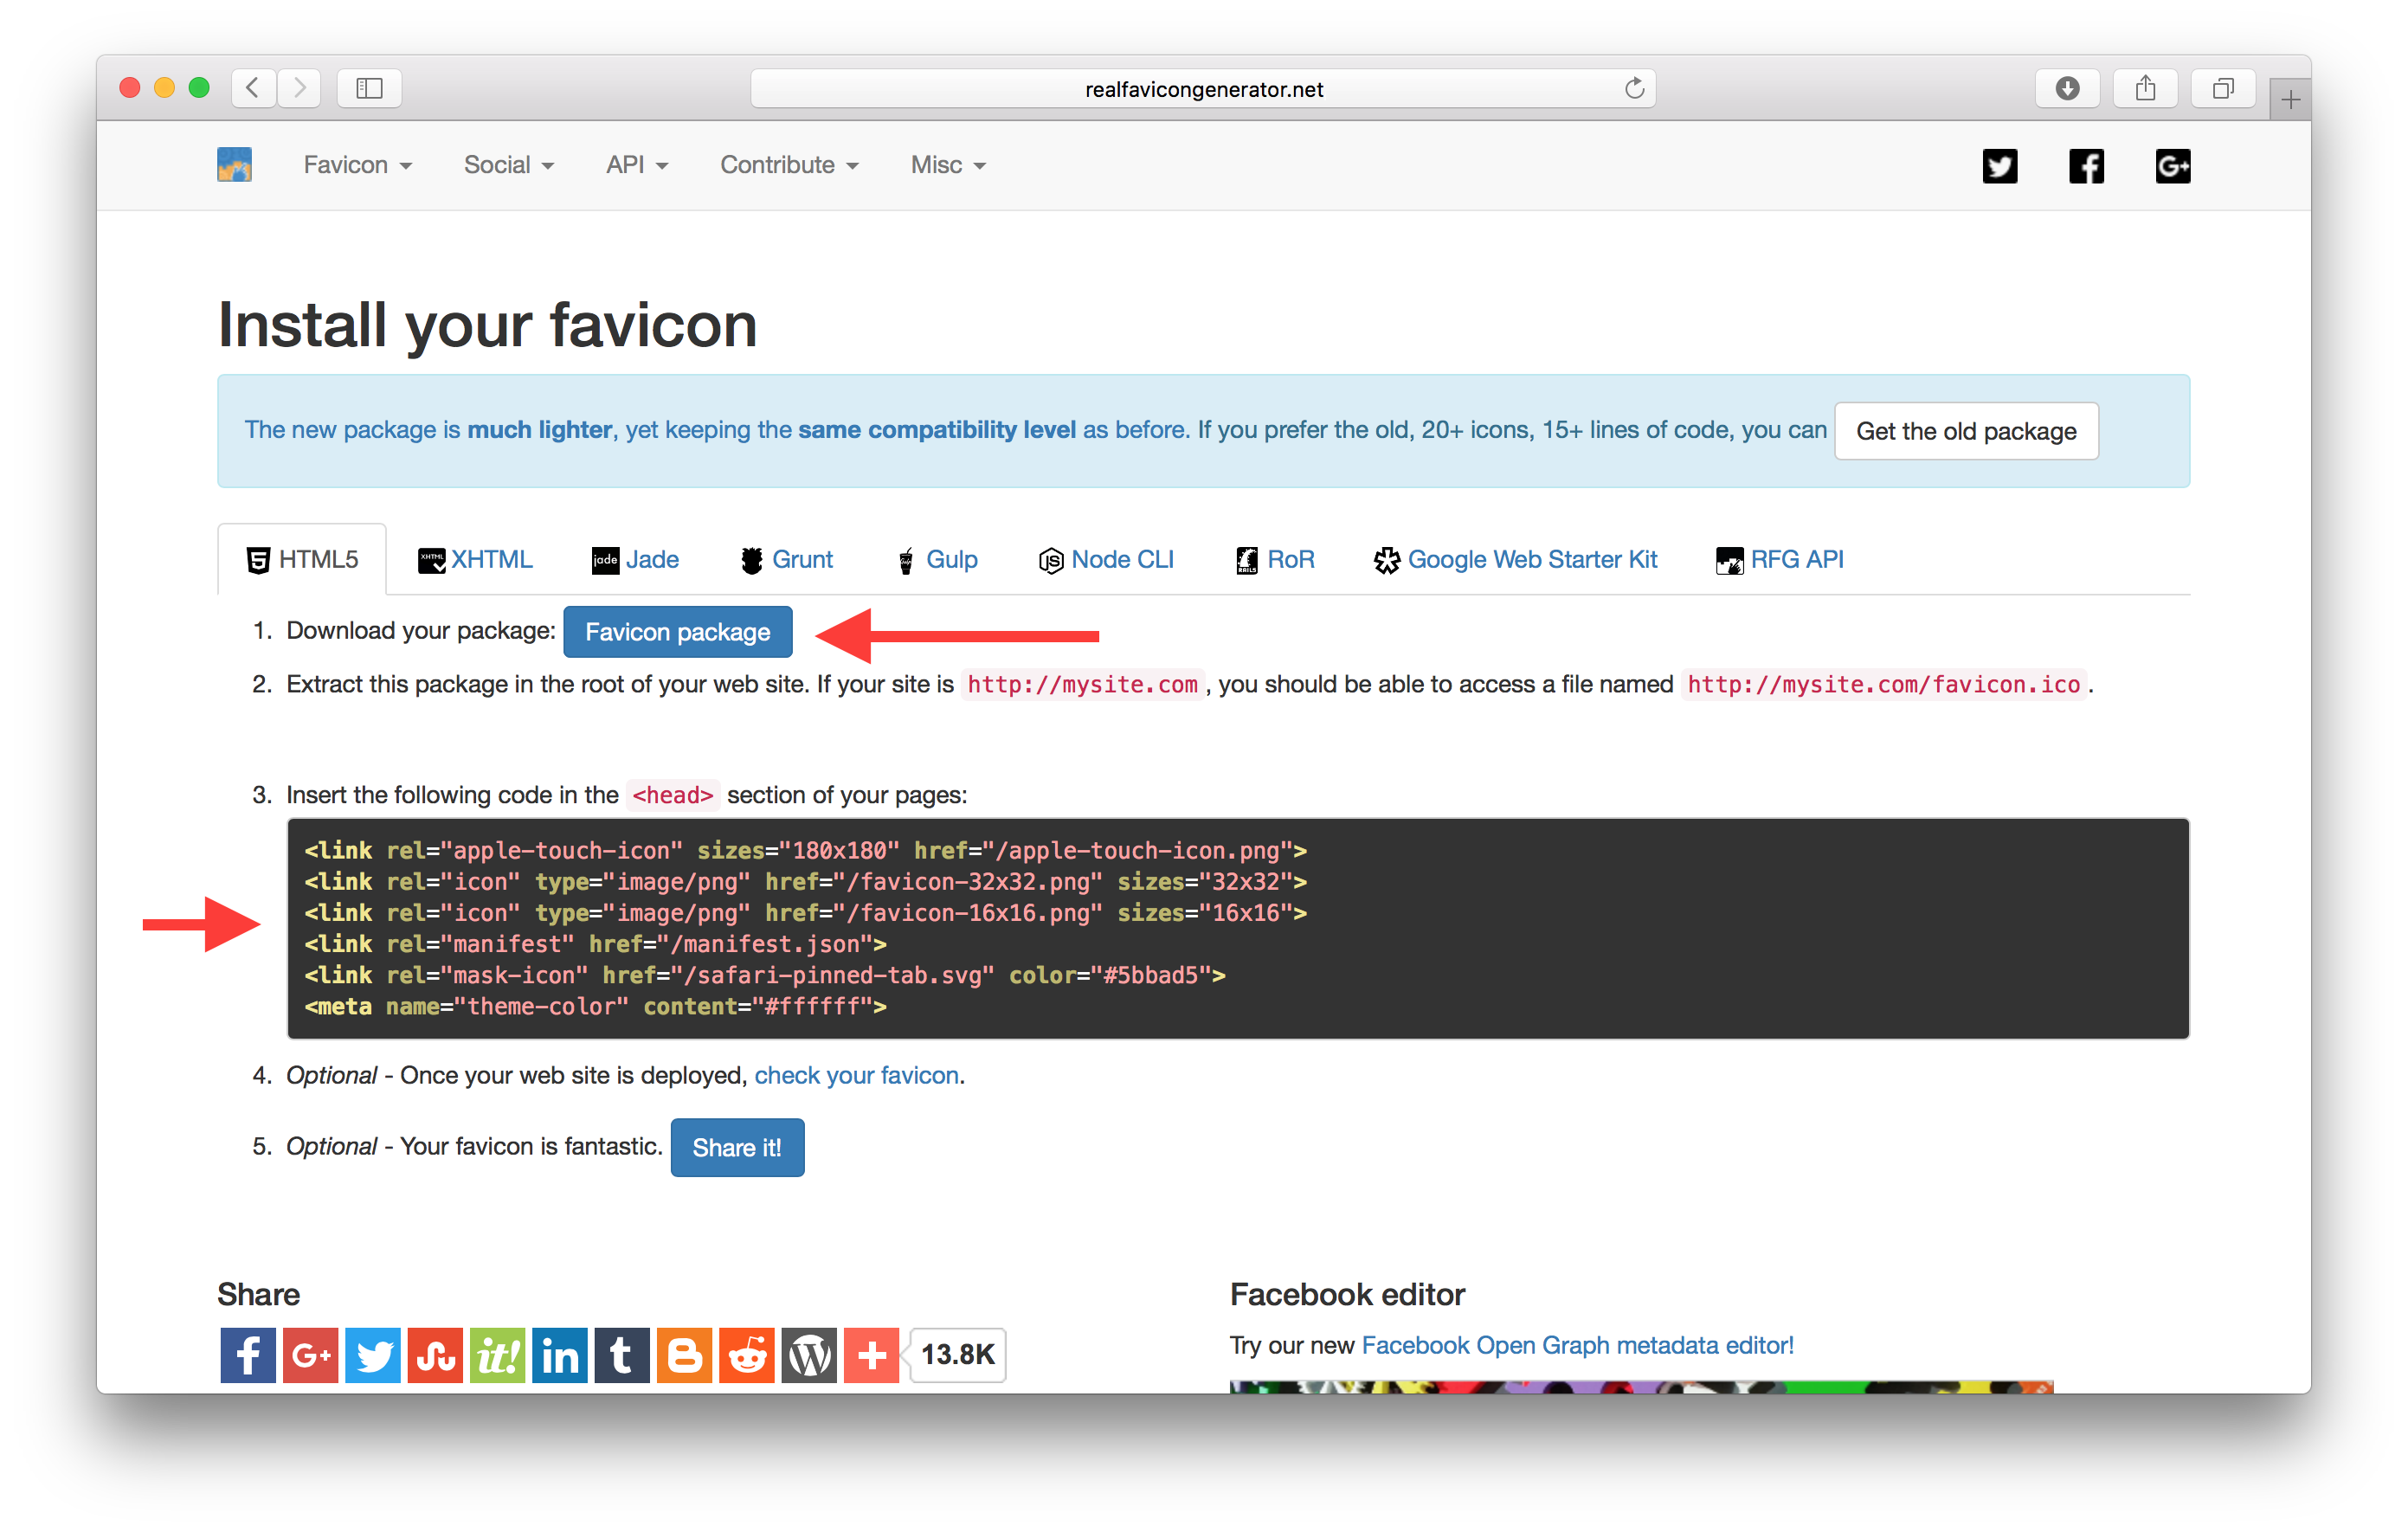
Favicons Generator#
파비콘을 모든 환경에서 나타내기위해 각 플랫폼에 맞는 이미지를 생성
- 위에 연필 아이콘을 선택하여 파비콘 생성준비
- 파비콘과 HTML Code 생성하기
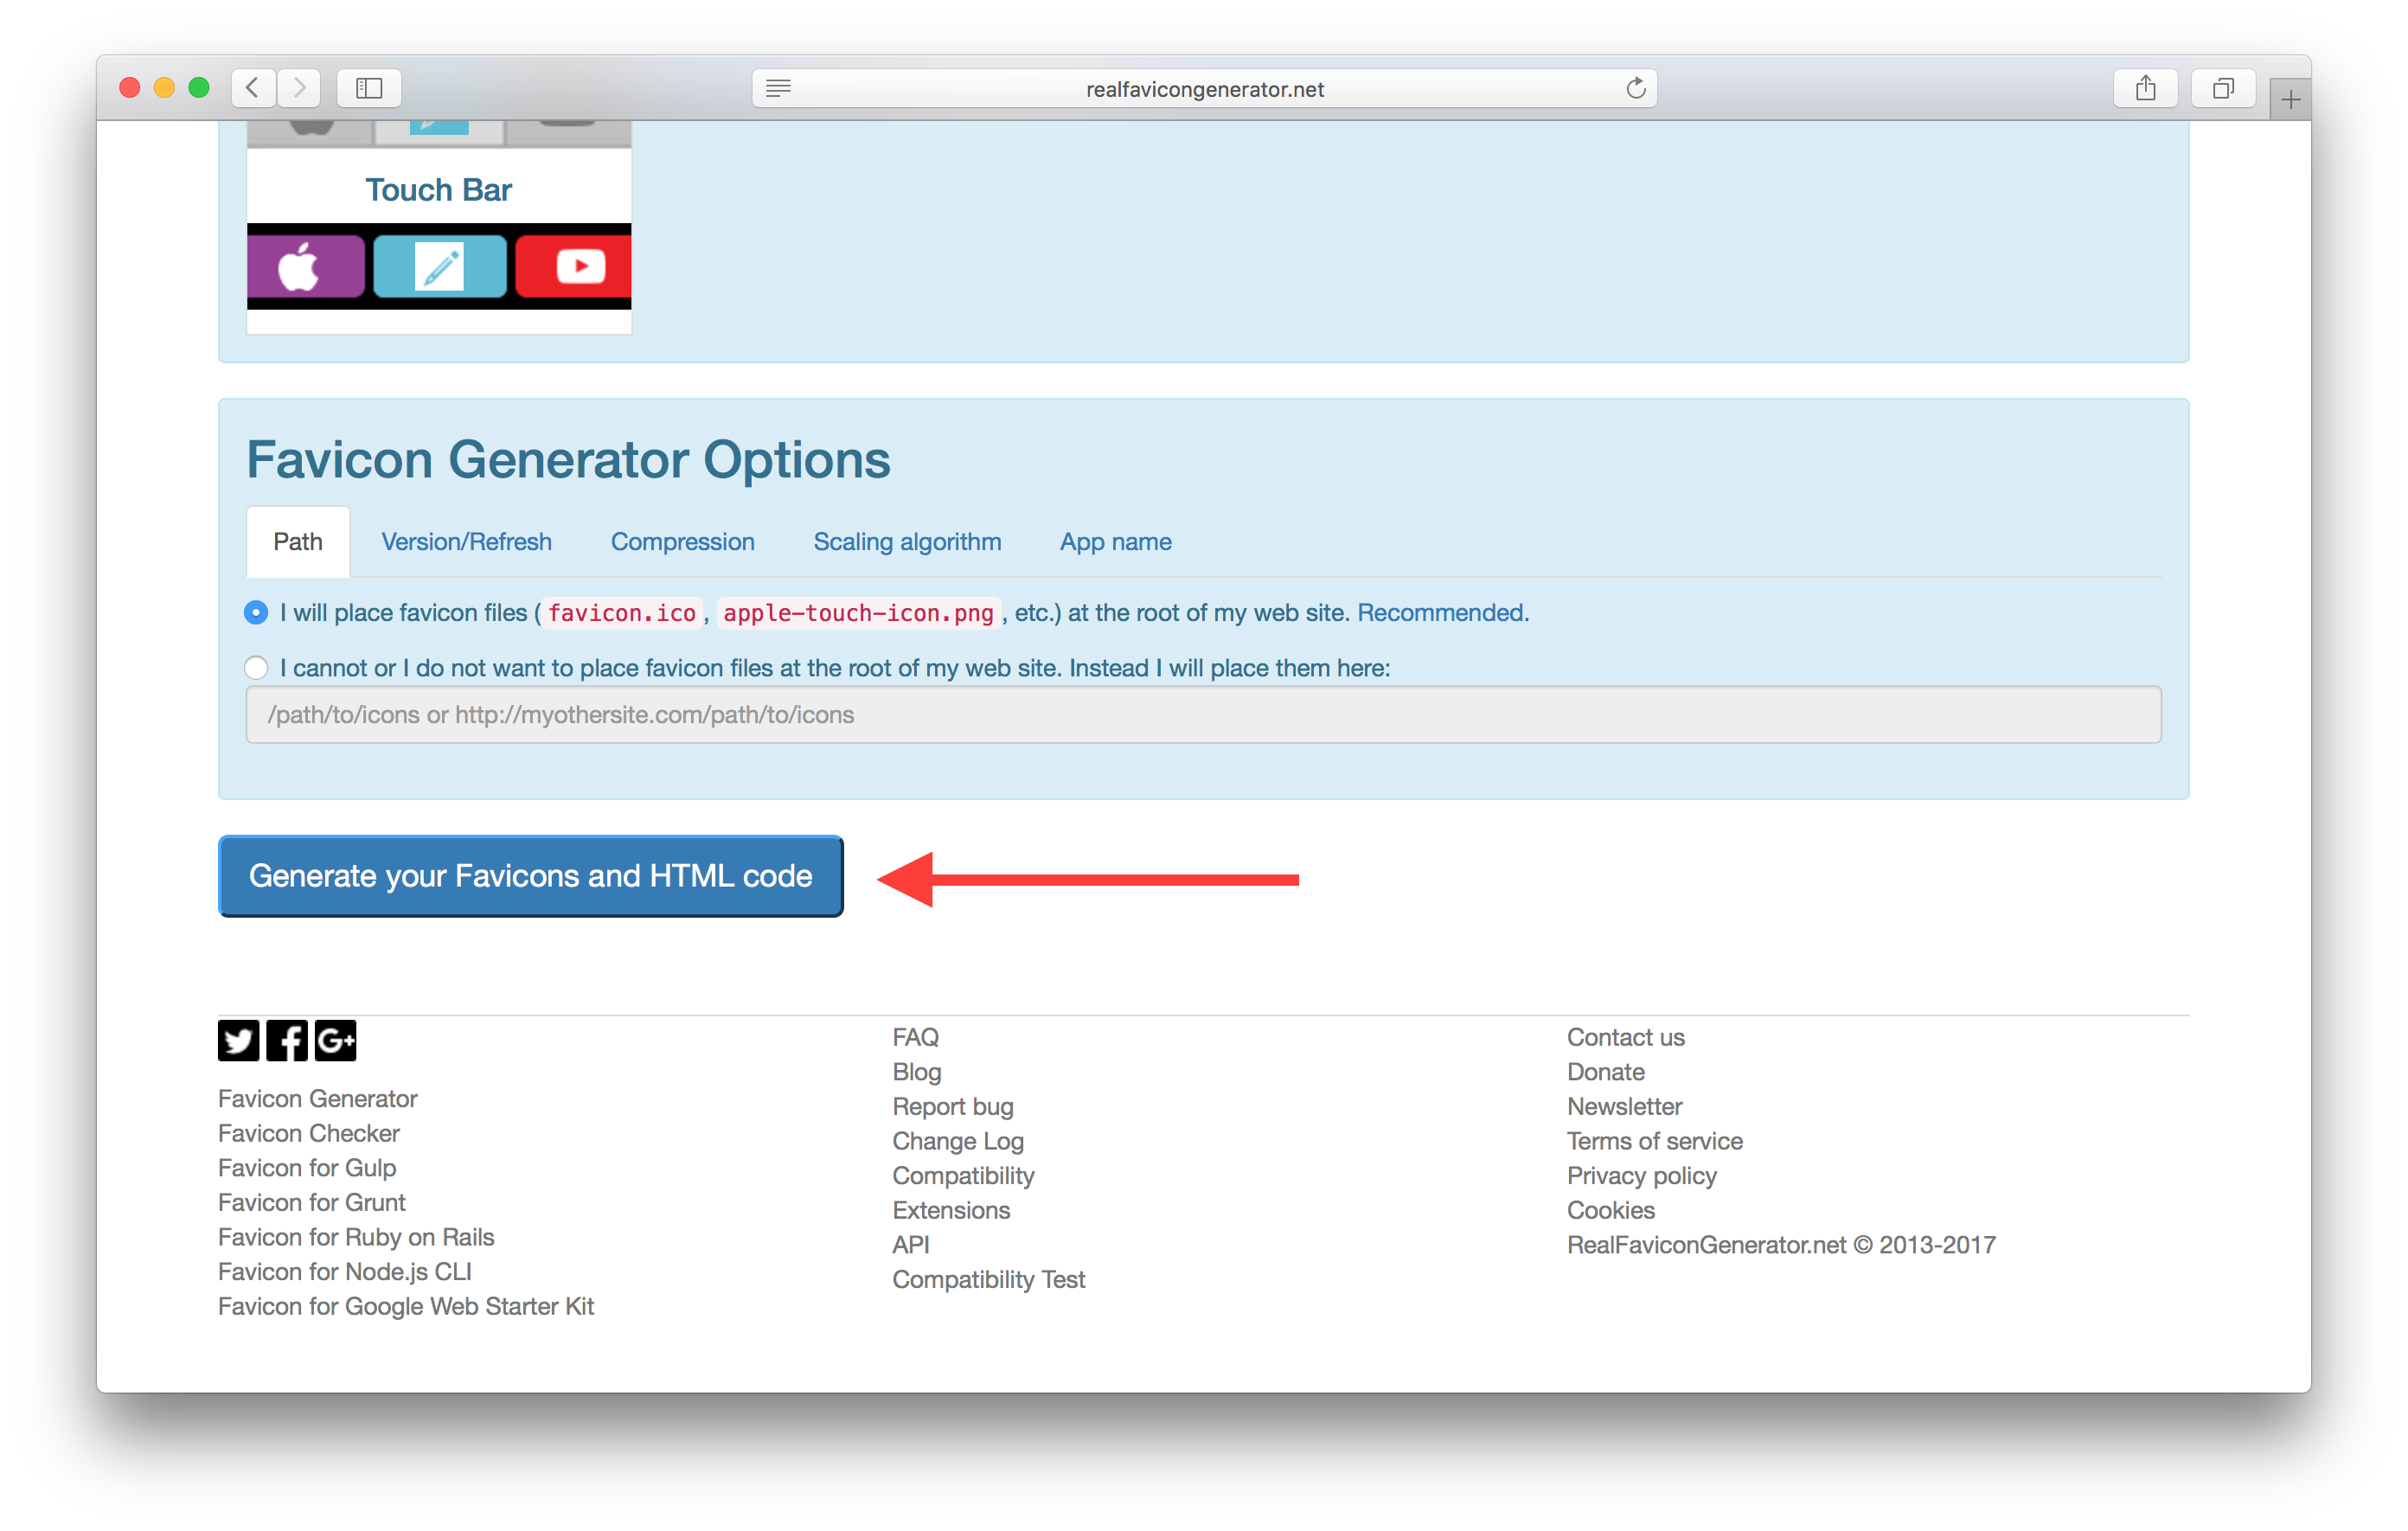
- HTML Code복사 및 파비콘 이미지 다운로드
설정 소스 수정#
public/manifest.json
public/index.html
Custom Fonts 설정#
글꼴 설정#
Serif( PT Serif )와 Sans-Serif( Open Sans ) 서체의 조합을 사용해보자. (Google Fonts를 통해 제공)
public/index.html
글꼴 스타일 추가#
src/index.css
React Bootstrap Install#
Bootstrap 스타일 추가#
public/index.html
모바일 Browser에서 포커스관련 확대 방지#
src/index.css
브라우저로 이동하면 스타일이 변경되었다.
Bootstrap에 Normalize.css가 포함되어 브라우저 간에 보다 일관된 스타일이 적용된다.
참고#
2021-08-17#
List#
- Handle Routes with React Router
- Add a Navbar
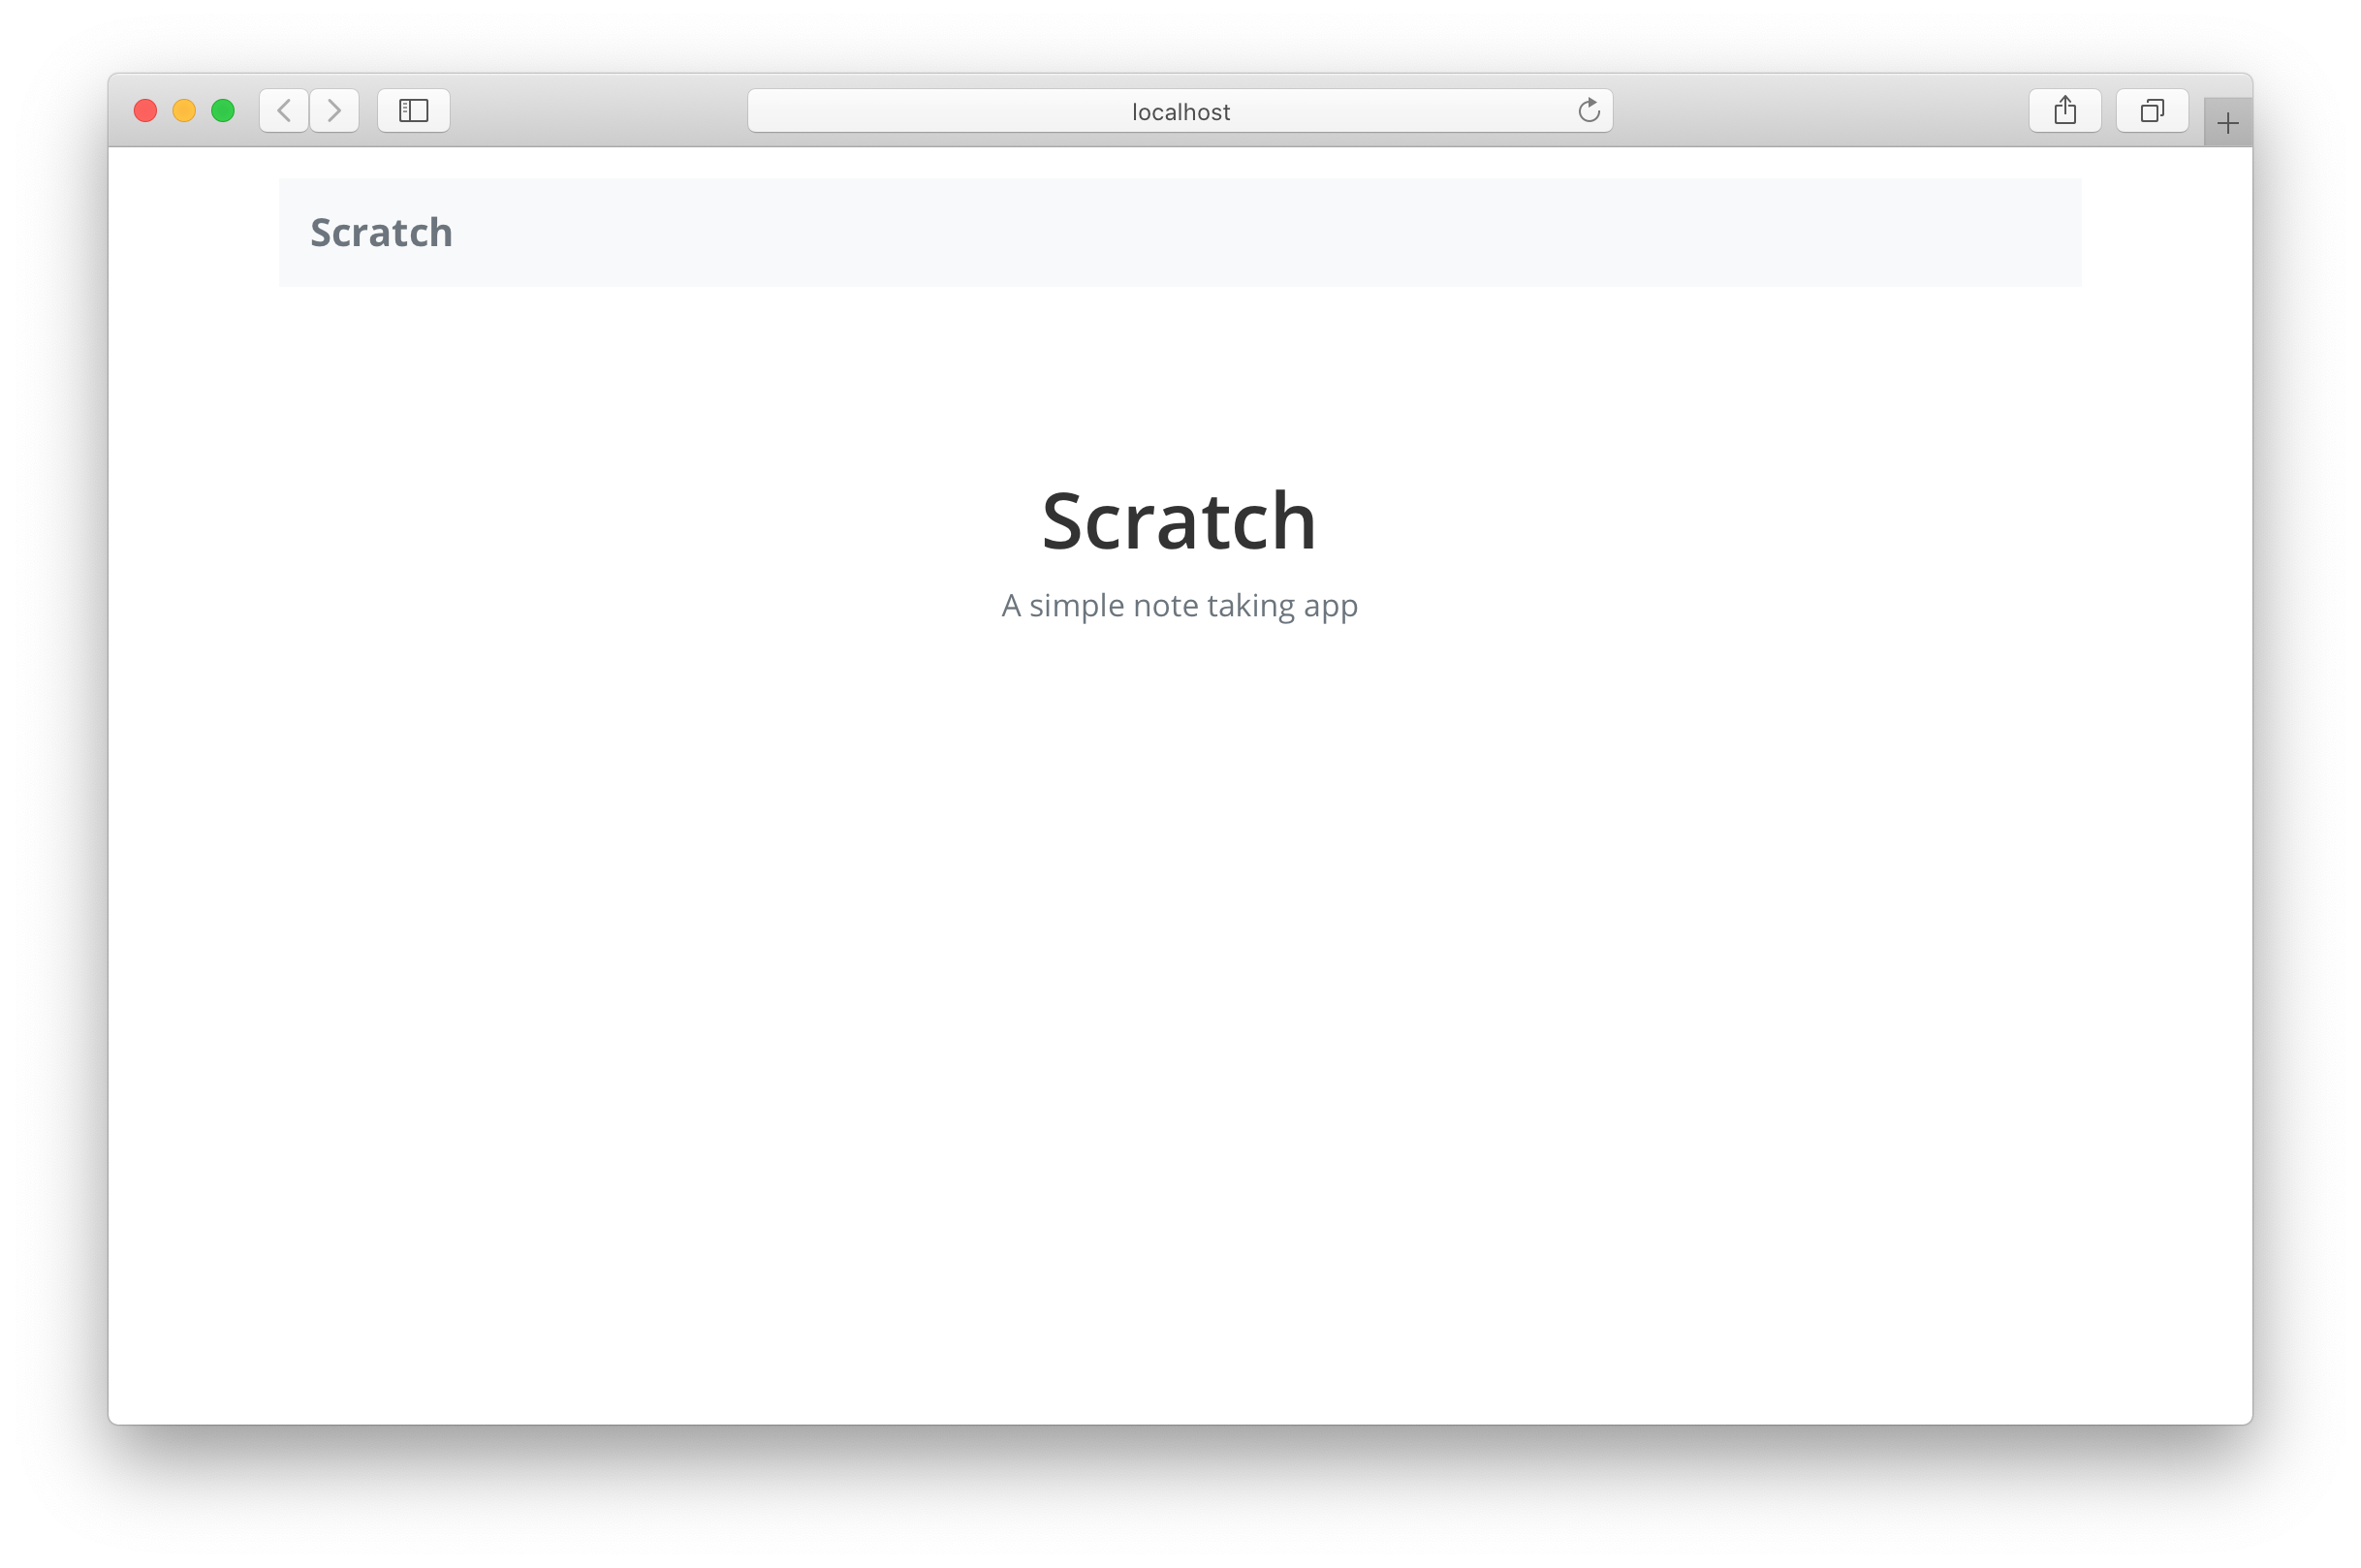
- Add the Home container
- Set up the Routes
- Handle 404
React Router#
CRA는 기본적으로 많은 것을 설정하지만 경로를 처리하는 기본 제공 방법은 제공되지 않는다.
그리고 우리는 단일 페이지 앱을 구축하고 있기 때문에 특정경로 이동 및 로드 처리를 React Router를 사용하여 처리한다.
src/index.js
2가지 적용#
- BrowserRouter를 라우터로 사용하며, 이것은 브라우저의 History API를 사용하여 실제 URL을 생성
- App Component를 렌더링 하는 데 Router를 사용, 이를 통해 App컴포넌트 내부에 필요한 경로를 생성
Add Navbar#
src/App.js
- 부트 스트랩을 사용하여 고정 폭 컨테이너 만든다
div.container - 속성을 사용하여 컨테이너의 너비에 맞는 컨테이너 내부에 fluid 속성의 Navbar를 추가
- 몇 가지 부트스트랩 간격 유틸리티 클래스 (
mb-#및py-#)를 사용하여 여백 하단(mb) 및 패딩 수직(py)을 추가, 이는 UI에 보다 조화로운 느낌을 줌
src/App.css
Add the Home container#
src/containers/Home.js
src/containers/Home.css
Set up the Routes#
src/Routes.js
src/App.js
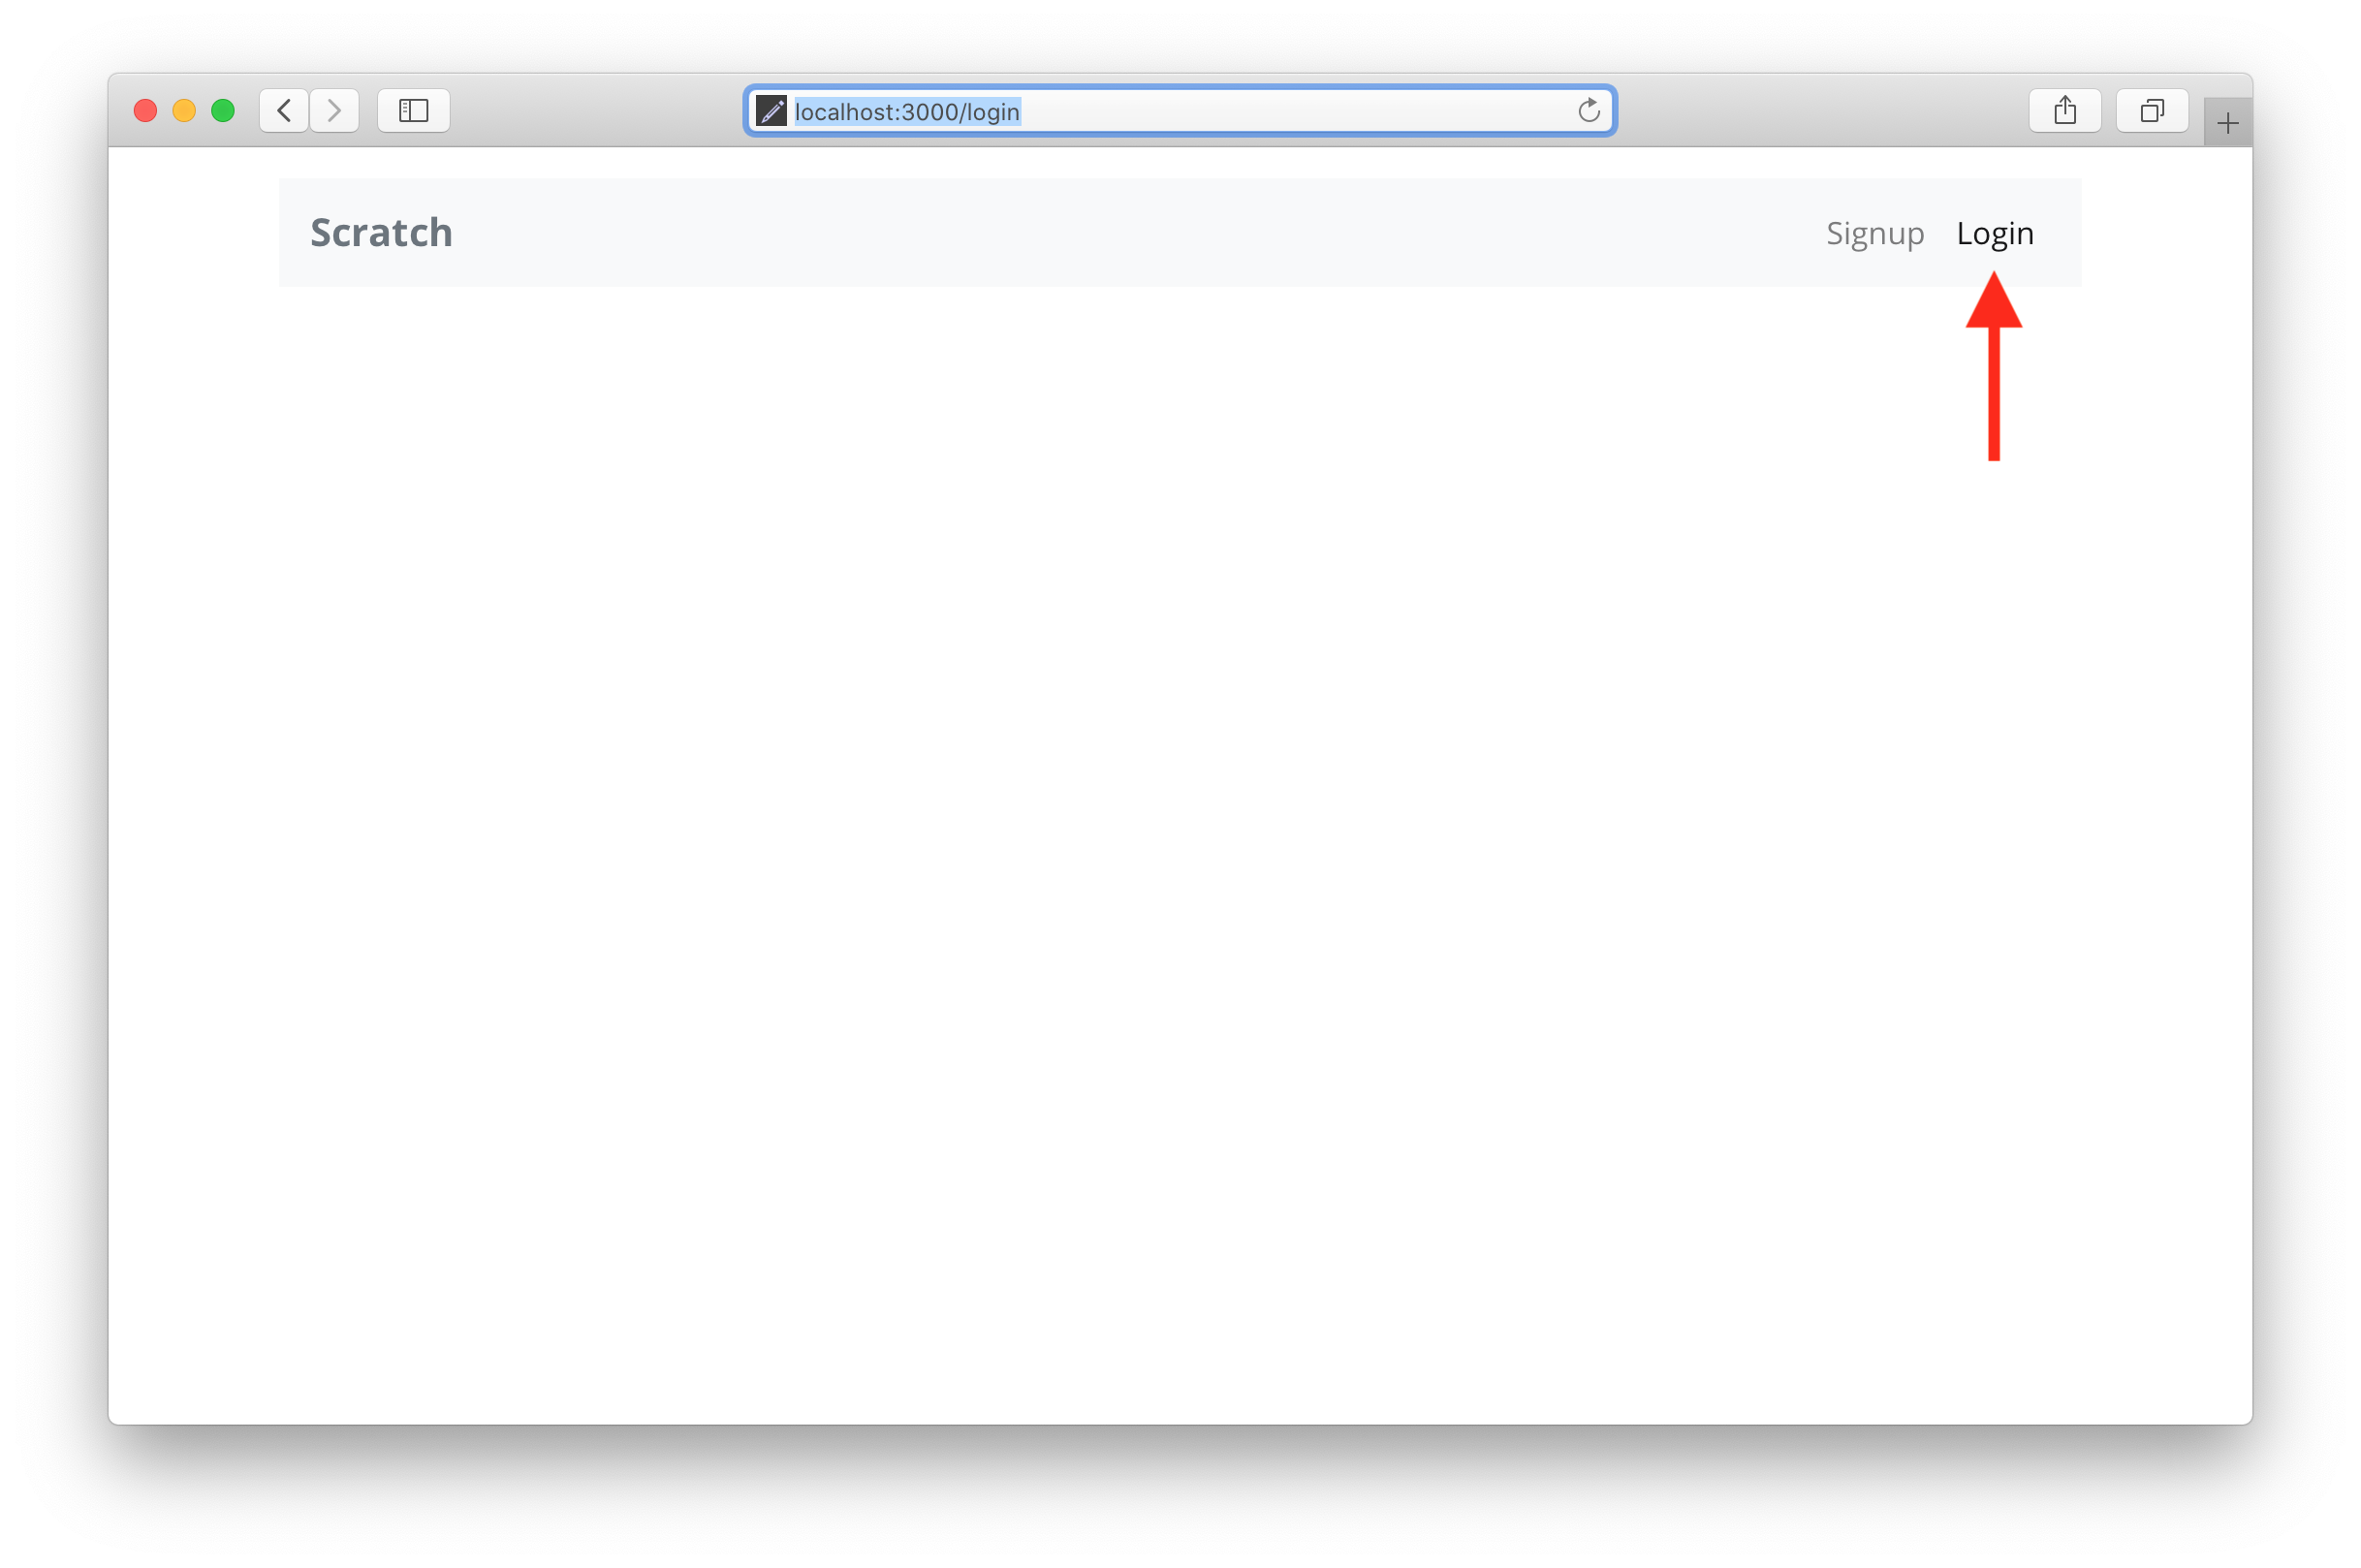
Links in the Navbar#
src/App.js
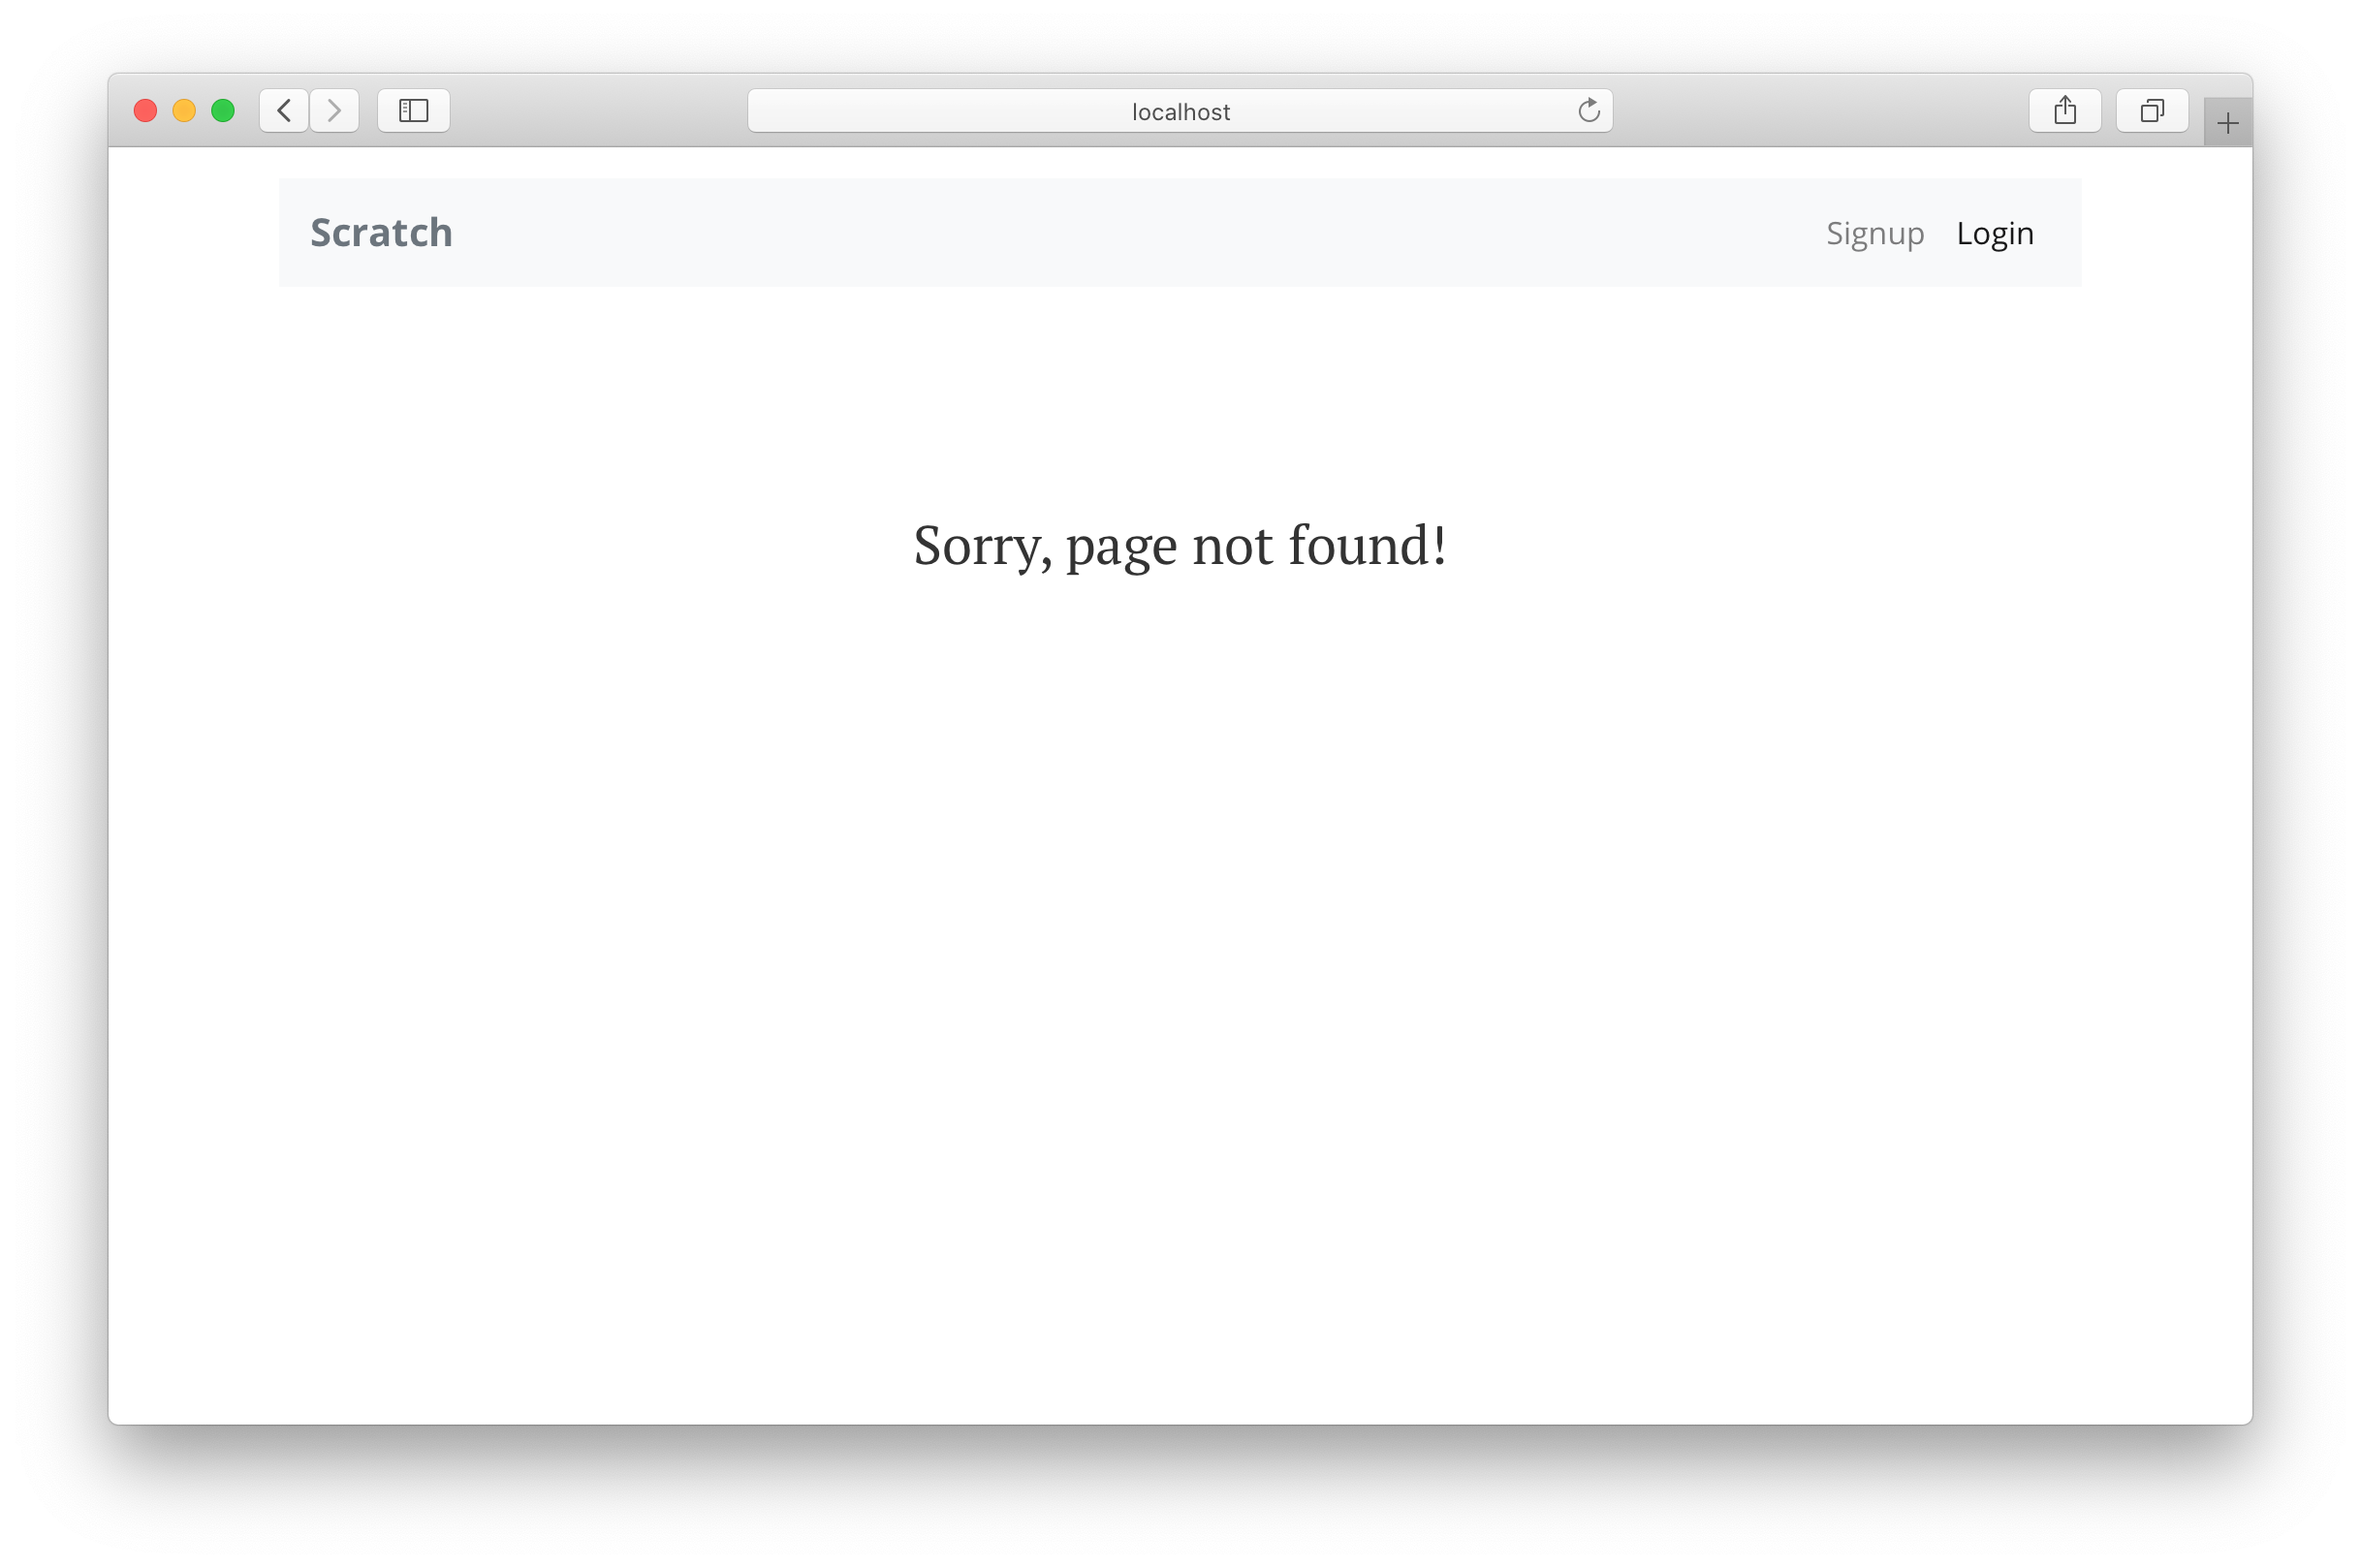
Handle 404#
src/containers/NotFound.js
src/containers/NotFound.css
src/Route.js
2021-08-24#
List#
- Configure AWS Amplify
- Add AWS Amplify
- Create a Login Page
- Login with AWS Cognito
Install AWS Amplify#
AWS Amplify는 백엔드에 쉽게 연결할 수 있도록 몇 가지 간단한 모듈(Auth, API 및 Storage)을 제공한다.
src/config.js
값 교체#
YOUR_S3_UPLOADS_BUCKET_NAME = "S3 Buket Name", YOUR_S3_UPLOADS_BUCKET_REGION = "Region Name"
YOUR_API_GATEWAY_URL = "API ENDPOINT URI" YOUR_API_GATEWAY_REGION = "Region Name"
YOUR_COGNITO_USER_POOL_ID = "Cognito Pool Id", YOUR_COGNITO_APP_CLIENT_ID = "App Client id"
YOUR_IDENTITY_POOL_ID = "Identity Pool Id"
Add AWS Amplify#
src/index.js
내용 추가
Amplify는Cognito를 쉽게 인증,S3는 저장공간,API Gateway는API.mandatorySignIn플래그에 대한 Auth우리의 사용자가 우리의 어플리케이션가 상호 작용하기 전에 로그인 원하기 때문에 true로 설정name: "notes"기본적으로 우리의 API 주소 및 이름을 Amplify에 요청하게된다. Amplify를 사용하면 앱에서 사용할 여러 API를 추가해서 사용할 수 있다. (현재 전체 백엔드는 하나의 단일 API로 구성)Amplify.configure()명령어를 통해 앱과 상호작용할 AWS 자원을 쉽게 설정할 수 있다. 여기서는 구성 외에 다른 특별한 작업을 수행하지 않는다.
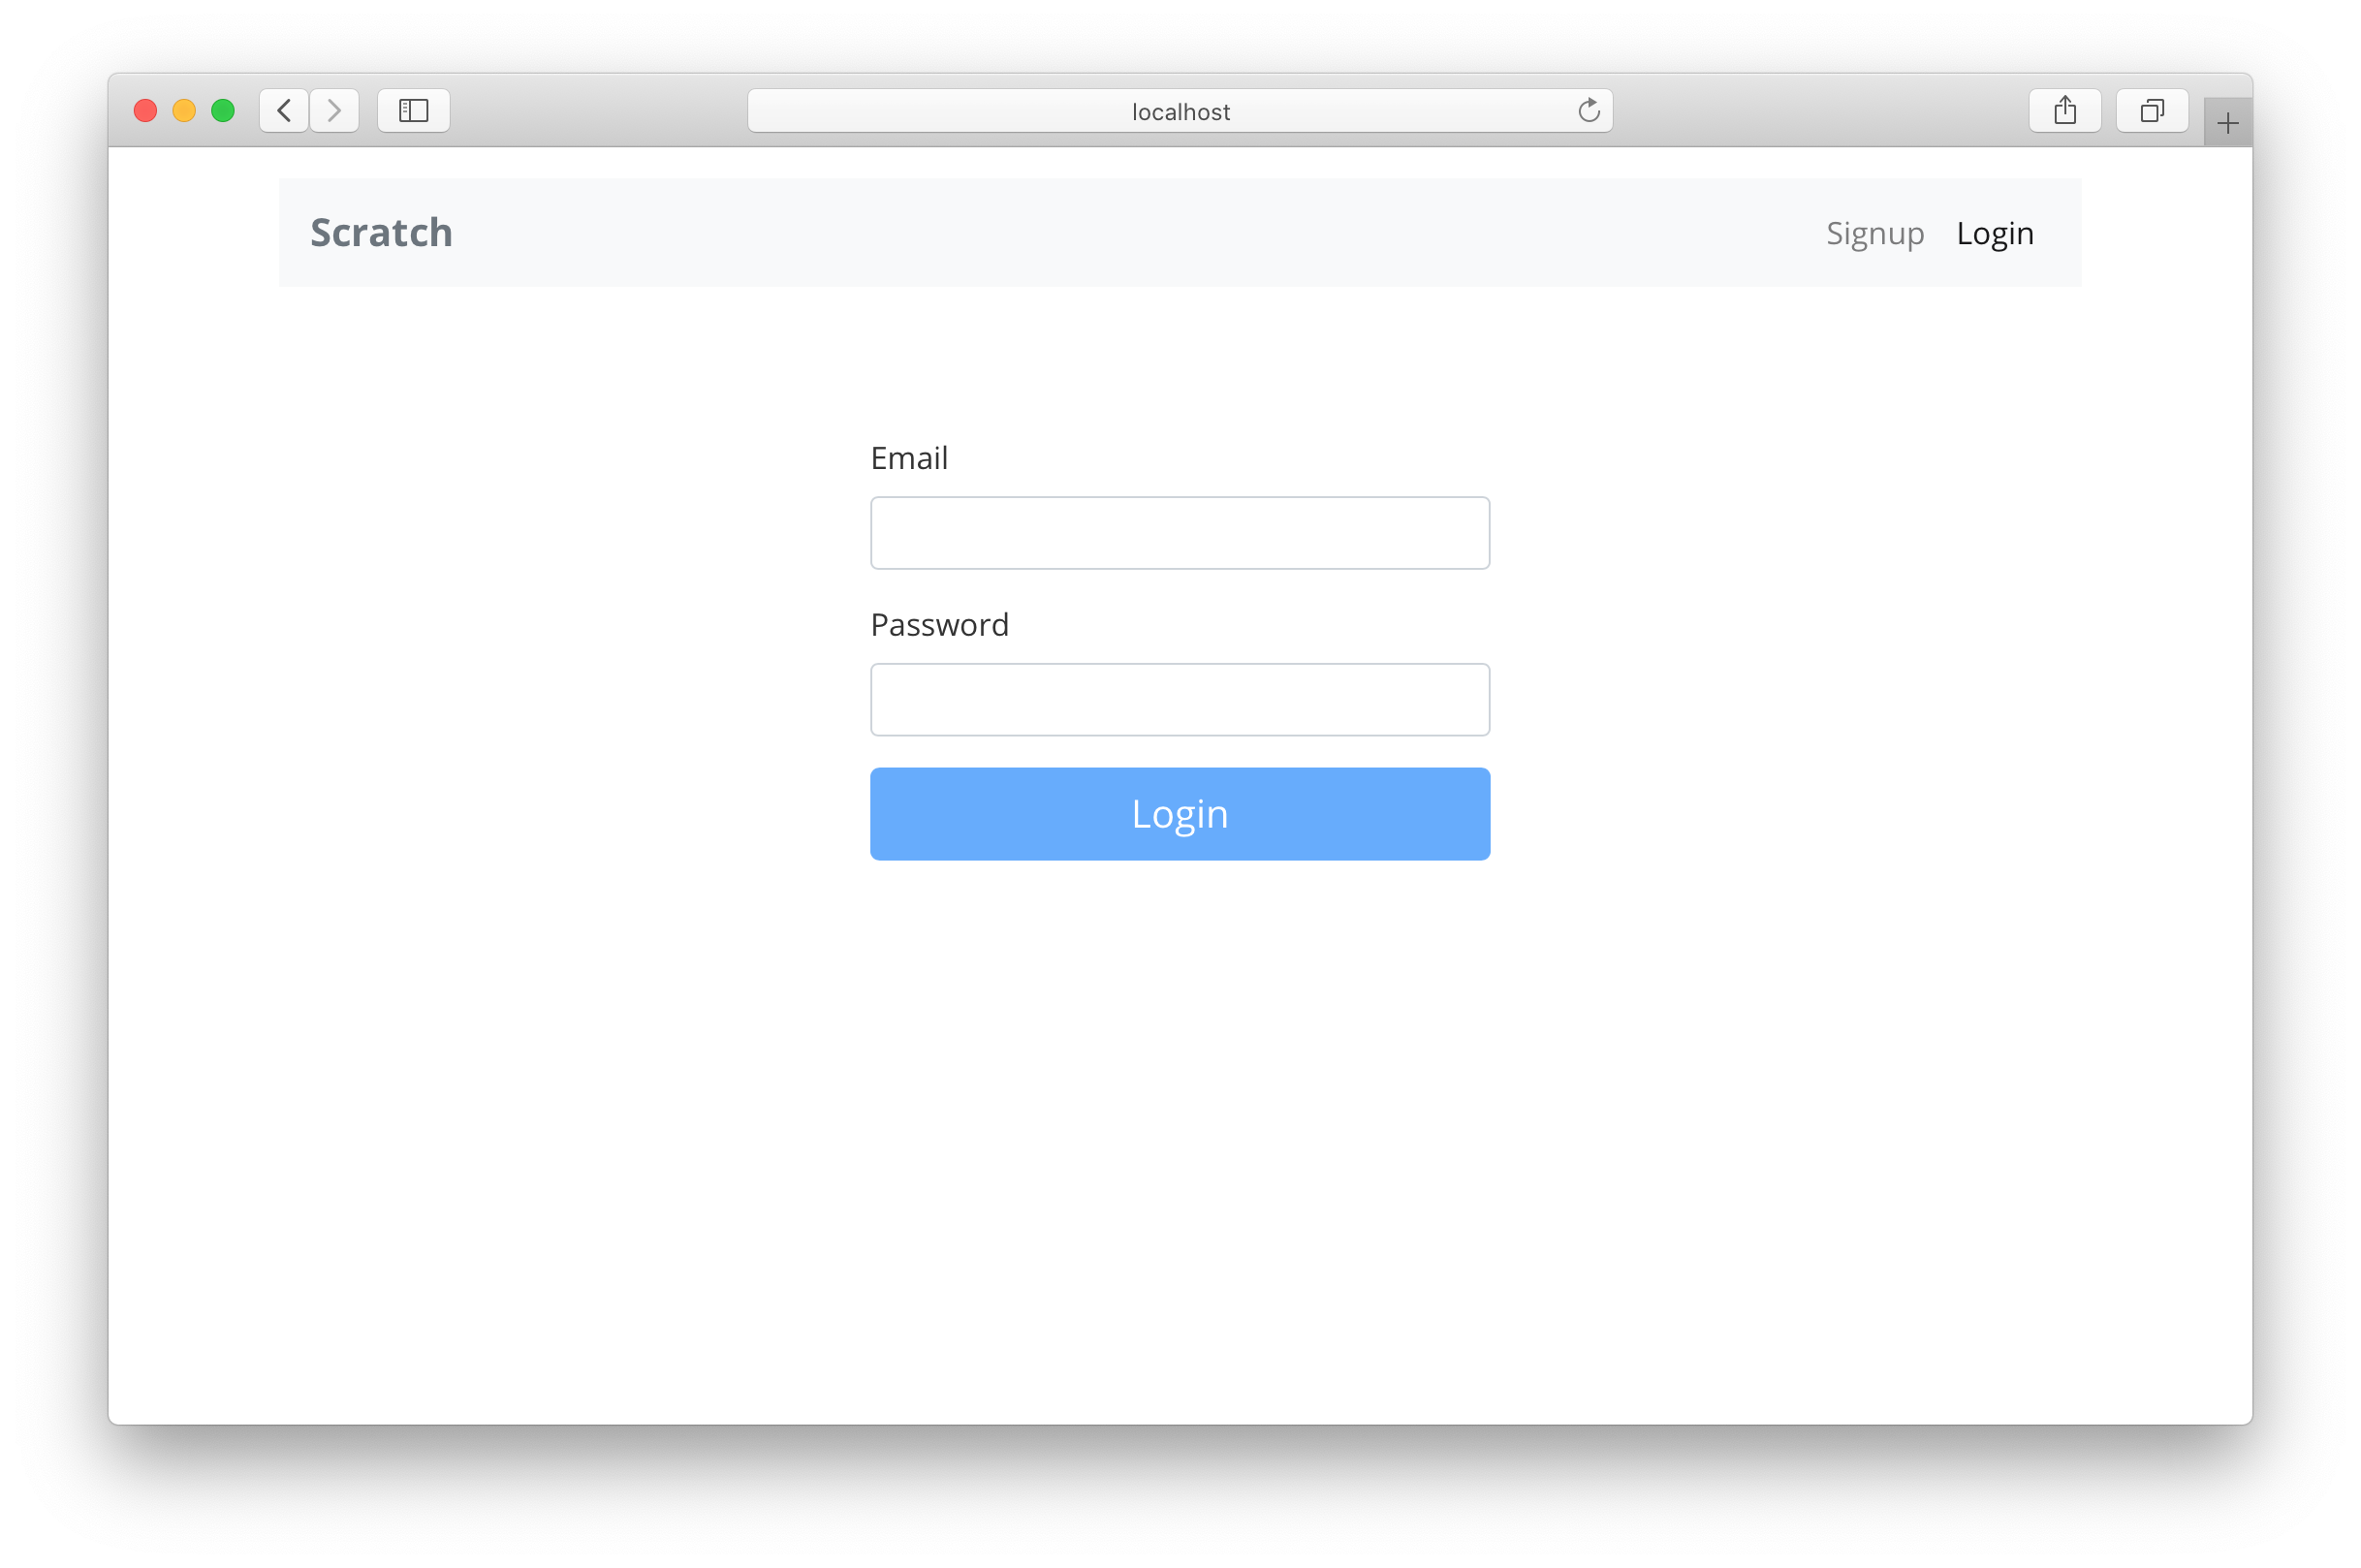
Create a Login Page#
src/containers/Login.js
src/containers/Login.css
src/Routes.js
- 구성 요소의 상단에서 useState Hooks 를 사용하여 사용자가 양식에 입력한 내용을 저장
- setEmail및 setPassword 함수를 사용하여 양식의 두 필드에 상태를 연결하여 사용자가 입력한 내용을 저장
(
e.target.value인자로 사용, 새 상태를 설정하면 구성 요소가 다시 렌더링) - 로드될 때 이 필드에 포커스를 설정하도록 이메일 필드에 autoFocus 플래그를 설정
- handleSubmit 양식이 제출될 때 콜백을 트리거
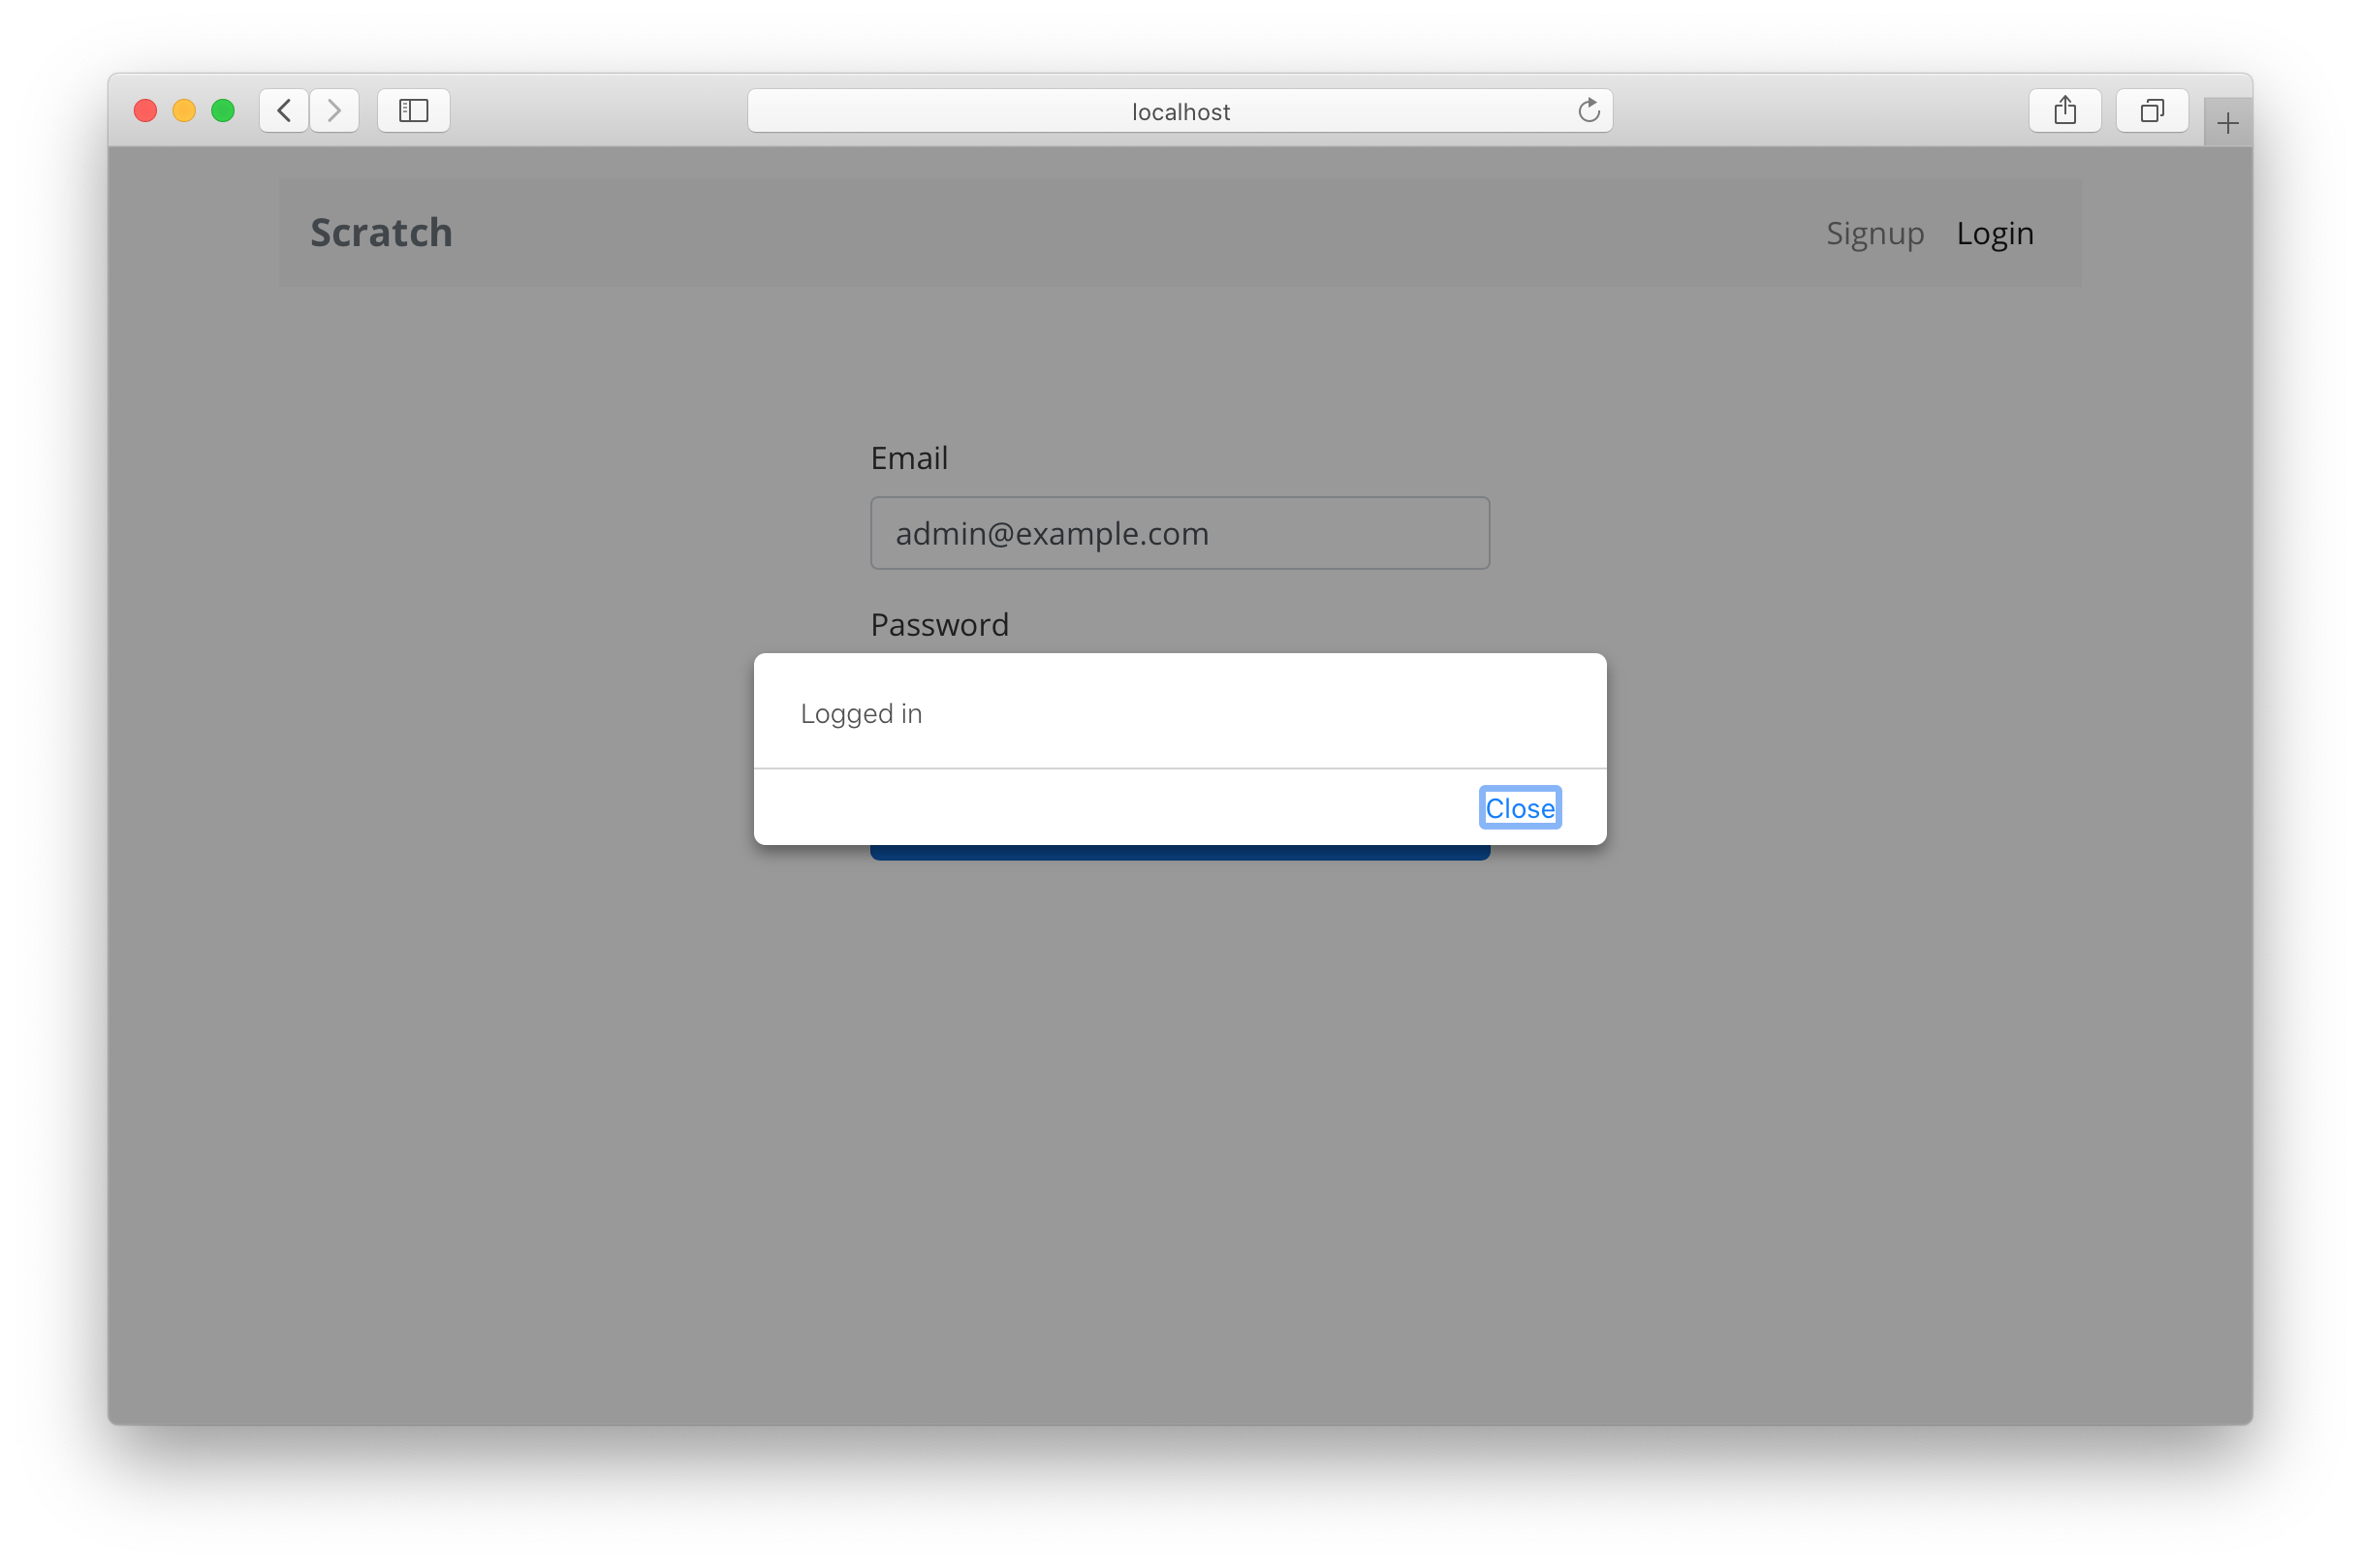
Login with AWS Cognito#
src/containers/Login.js
- email, password를 인자로 Amplify의
Auth.signIn()메서드를 호출
(Auth.signIn()메서드는 사용자를 비동기식으로 로그인하며 Promise를 Return 해준다) await키워드를 사용하여Auth.signIn()메서드를 호출
2021-08-31#
List#
- Add the Session to the State
- Load the state from the session
- Clear the session on logout
- Redirect on login and logout
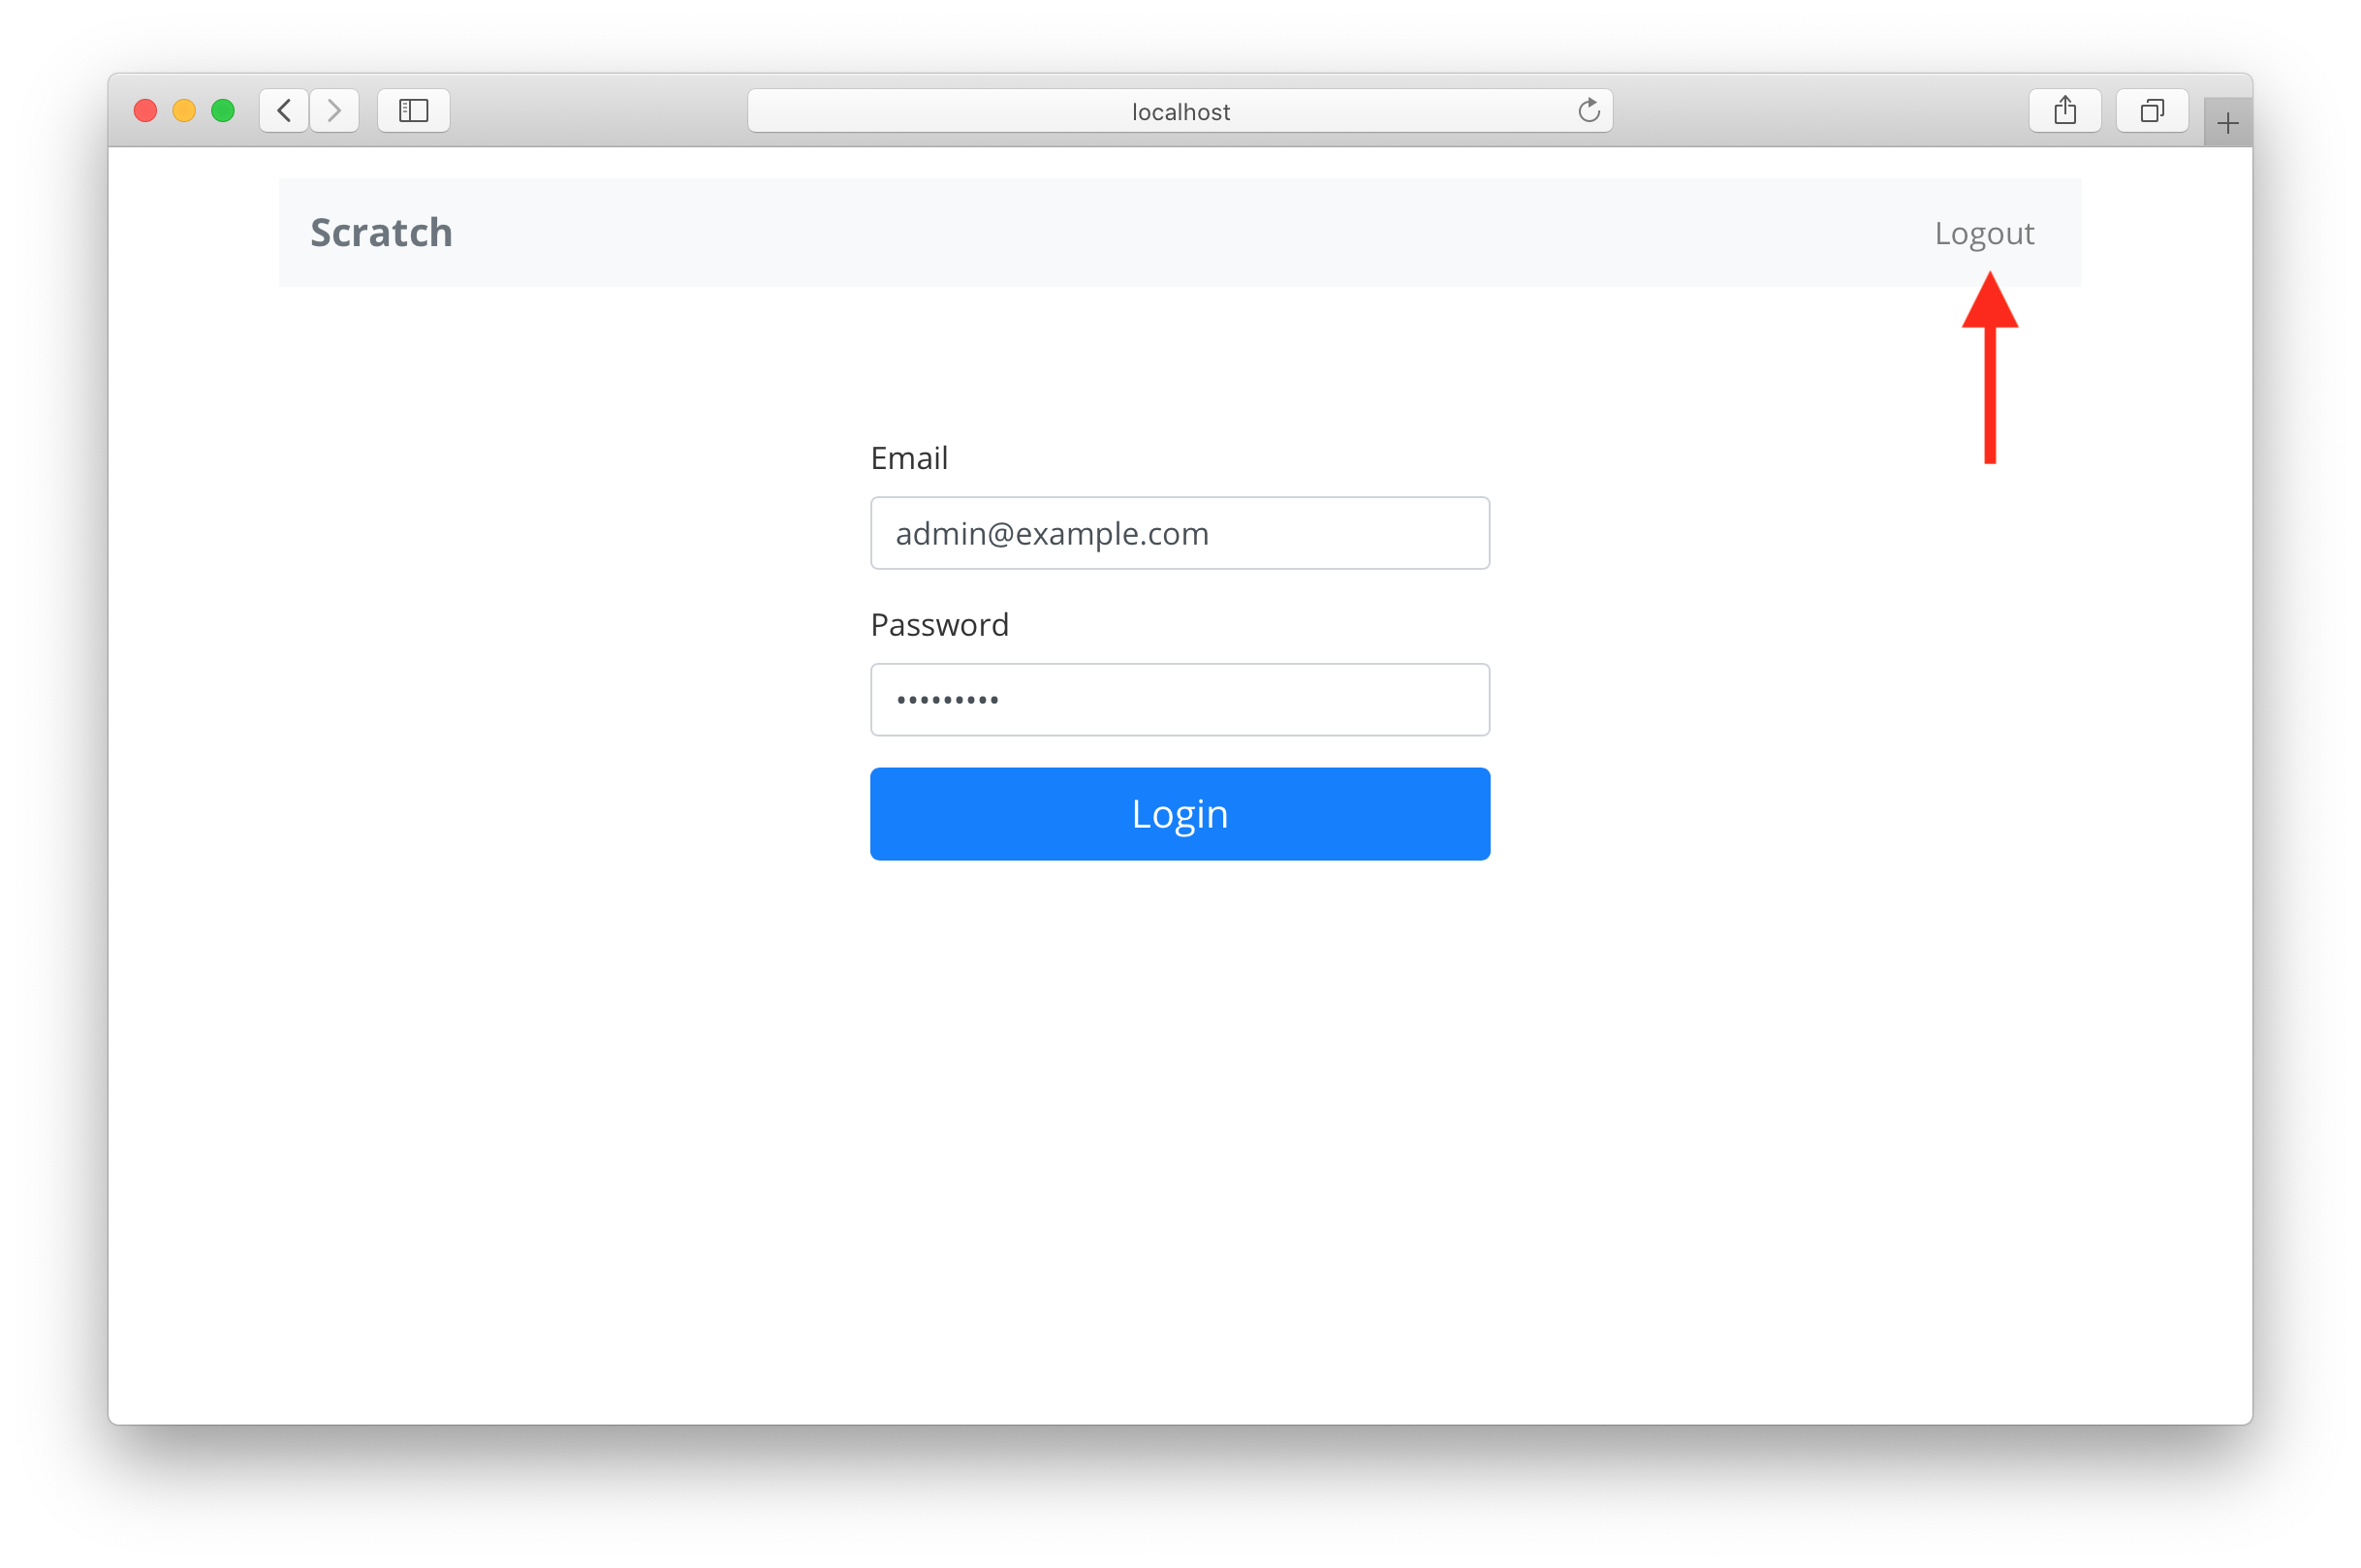
Add the Session to the State#
로그인 프로세스를 완료하려면 사용자가 로그인했음을 반영하도록 세션으로 앱 상태를 업데이트 필요
src/lib/contextLib.js
- createContext API 를 통해 App에 Context 추가
- useContext Hooks 를 사용을 통해 Context 액세스 가능
src/App.js
src/containers/Login.js
src/App.js
<>Fragments를 사용하여 여러 Children Dom을 렌더할때 그룹화 React Fragments
Load the state from the session#
src/App.js
useEffect Hooks를 통해 특정 시점을 제어
- 배열을 전달하지 않으면 구성 요소가 렌더링될 때마다 Hooks 실행
- 일부 변수를 전달하면 모든 렌더링에서 React는 함수를 실행하기 전에 먼저 해당 변수가 변경이 되었나 확인 후 Hooks 실행
- 빈 변수 목록을 전달하면 첫 번째 렌더링에서만 함수를 실행
새로고침해도 session 상태 유지
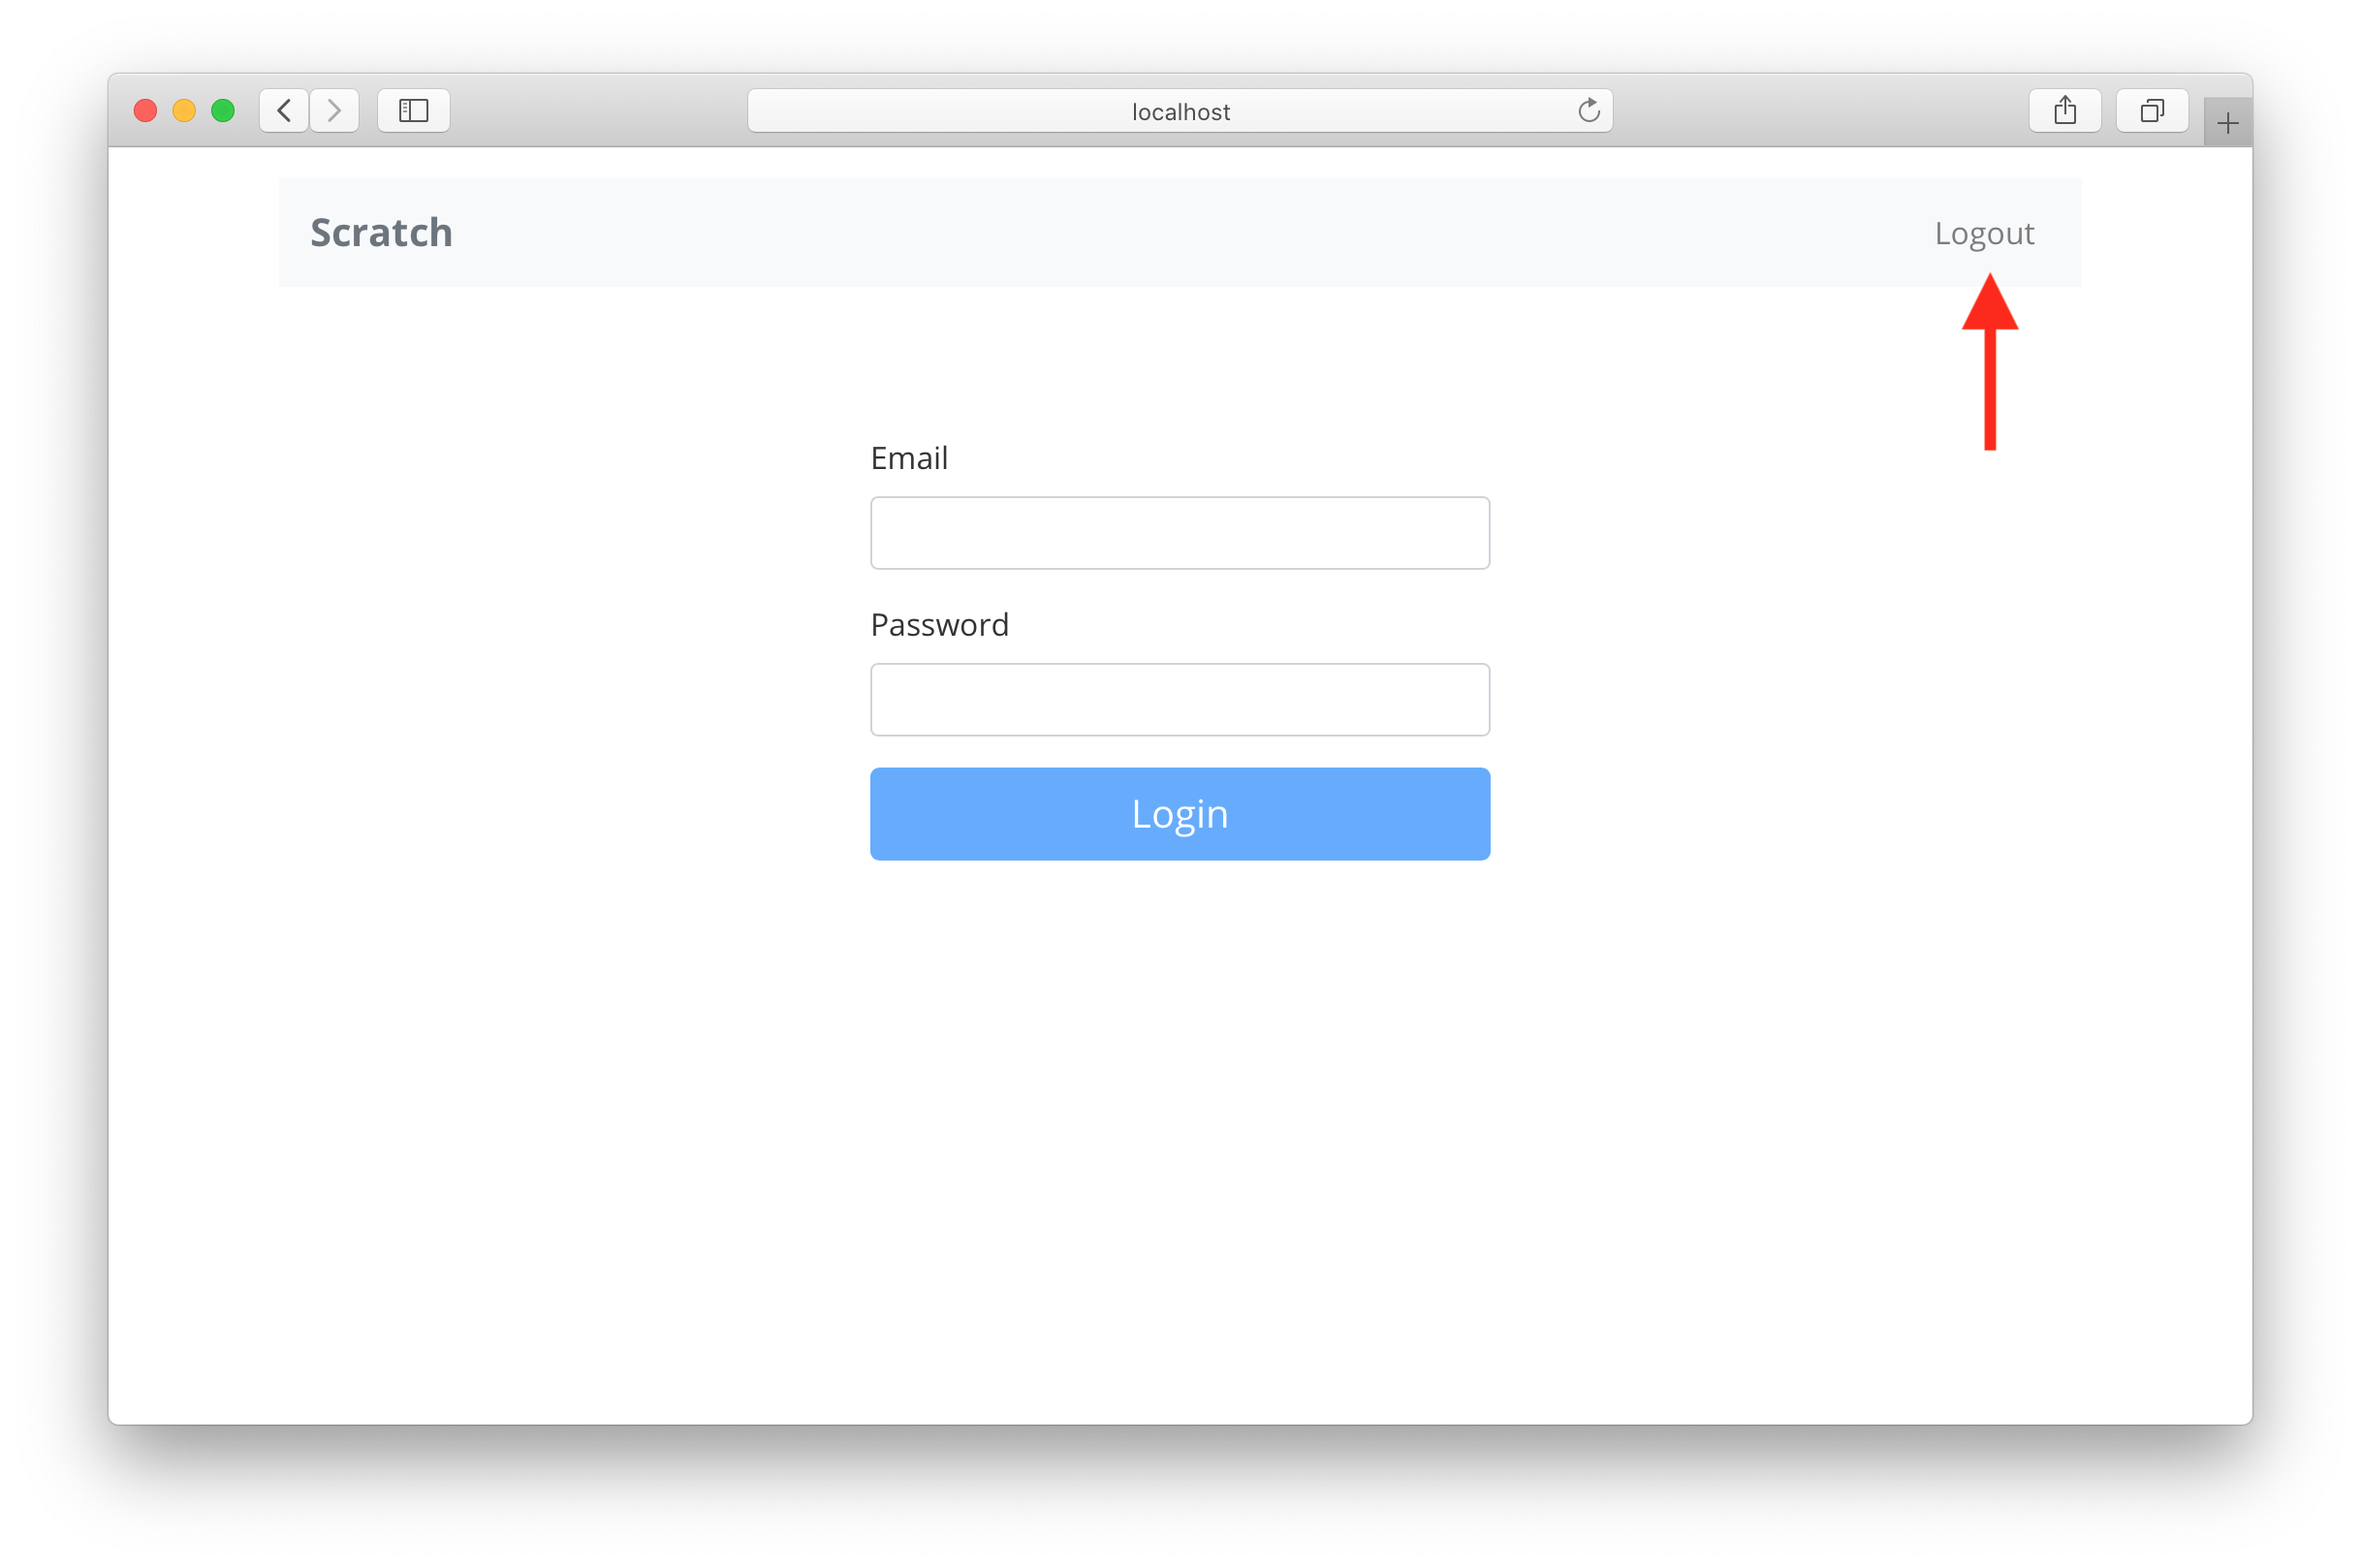
Clear the Session on Logout#
src/App.js
Redirect on Login and Logout#
- 로그인 후 사용자를 홈페이지로 Redirect
- 그리고 로그아웃한 후 로그인 페이지로 다시 Redirect
src/containers/Login.js
src/containers/Login.js